 Sign-up for free online course on ANSYS simulations!
Author: Rajesh Bhaskaran & Yong Sheng Khoo, Cornell University
Problem Specification
1. Pre-Analysis & Start-Up
2. Geometry
3. Mesh
4. Physics Setup
5. Numerical Solution
6. Numerical Results
7. Verification & Validation
Exercises
Comments
Pre-Analysis & Start-Up
Introduction
Verification and Validation Definition
Pre-Analysis Overview
Domain
k-epsilon Turbulence Model
Boundary Conditions
Numerical Solution Procedure
Start ANSYS FLUENT
This tutorial is specially configured, so the user can have both the tutorial and ANSYS open at the same time as shown below. It will be beneficial to have both ANSYS and your internet browser displayed on your monitor. Your internet browser should consume approximately one third of the screen width while ANSYS should take the other two thirds. You can use the windows command Alt + Tab to switch screens.

We'll run FLUENT within the ANSYS Workbench interface. Start ANSYS workbench:
Start > All Programs > ANSYS 19.1 > Workbench
The following figure shows the workbench window.

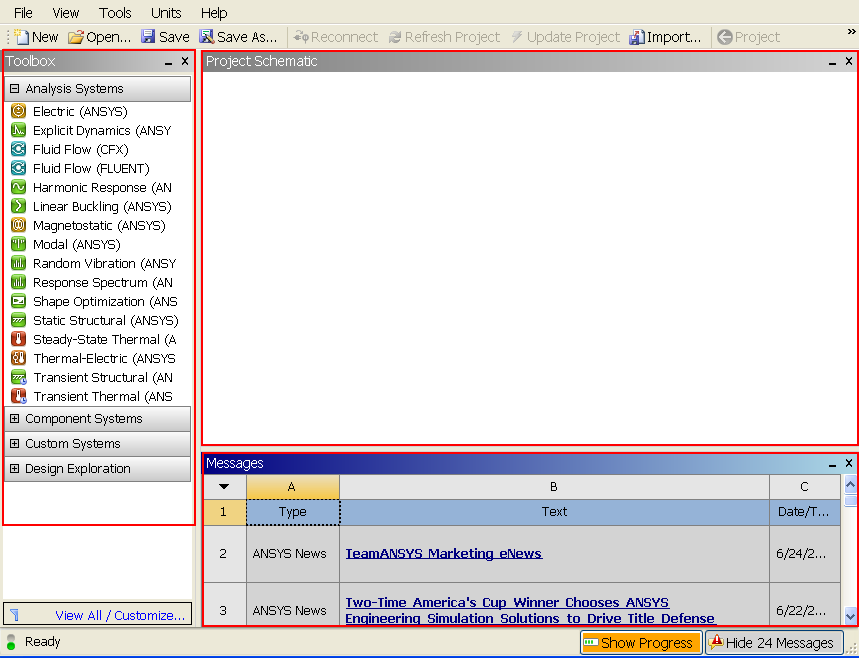
On the left hand side of the workbench window, you will see a toolbox full of various analysis systems. To the right, you see an empty work space. This is the place where you will organize your project. At the bottom of the window, you see messages from ANSYS.
Note to Cornell students enrolled in MAE 4272: You can skip the geometry and mesh steps. (You will be getting into the meshing application later in the Verification and Validation step for refining the mesh.) Download the mesh by right clicking here and saving the zip file to a convenient location. Unzip the downloaded file (you cannot read in the zip file directly). After unzipping, you should see a file called pipe_flow.wbpj and a folder called pipe_flow_files. Read the mesh into Workbench using File > Open. Browse to the pipe_flow.wbpj file and double-click on it. Then skip to Step 4: Setup (Physics).