 Sign-up for free online course on ANSYS simulations!
Go back to Problem Specification
Unable to render {include} The included page could not be found.
Step 1: Start-up & preliminary set-up
Take a few minutes to review the conventions used in the tutorials which are given on the main page.
Create a folder
Create a folder called ansys at a convenient location. We'll use this folder to store files created during the session.
Start ANSYS
Start > Programs > Lab Apps > ANSYS 10.0 > ANSYS Product Launcher
In the window that comes up, enter the location of the folder you just created as your Working directory by browsing to it. If you specify, say, C:\ansys as your working directory, all files generated during the ANSYS run will be stored in this directory.
Specify truss as your Initial jobname. The jobname is the prefix used for all files generated during the ANSYS run. For example, when you perform a save operation in ANSYS, it'll store your work in a file called truss.db in your working directory.
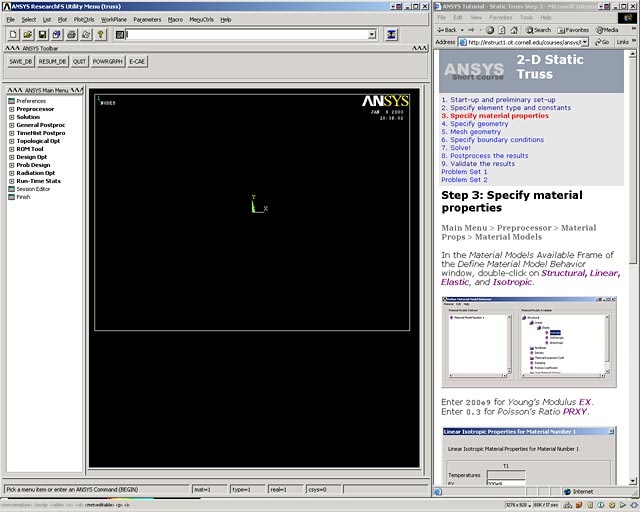
For this tutorial, we'll use the default values for the other fields. Click on Run. This brings up the ANSYS interface. To make the best use of screen real estate, move the windows around and resize them so that you approximate this screen arrangement. This way you can read instructions in the browser window and implement them in ANSYS.
You can resize the text in the browser window to your taste and comfort as follows:
In Internet Explorer: Menubar > View > Text Size, then choose the appropriate font size.
In Netscape: Menubar > View > Increase Font or Menubar > View > Decrease Font.
The ANSYS interface consists of the following:
- Utility Menu:

Note that the jobname truss appears in parenthesis in the title bar of the Utility Menu.
- ANSYS Main Menu:
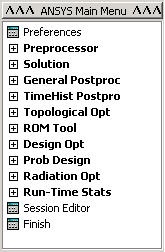
We'll more or less work our way down the Main Menu as we go through the solution steps.
- ANSYS Graphics
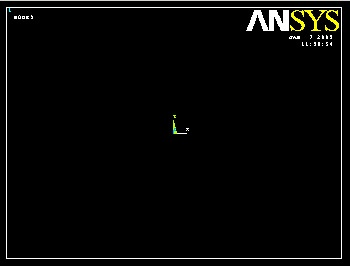
This is the window where the geometry, mesh, applied boundary conditions, and results such as stress values are displayed.
- ANSYS Toolbar:

The Toolbar contains shortcuts to often used commands such as save and can be customized by the user for convenience.
- ANSYS 10.0 Output Window:
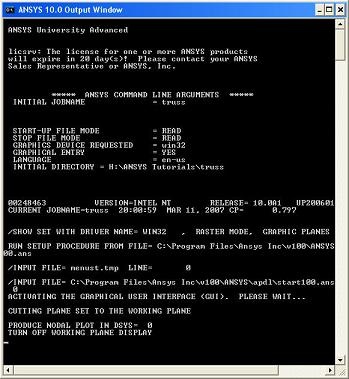
This is the window to which output from ANSYS commands is written and which provides feedback on the actions taken by ANSYS as you navigate the menus. If, at some point, you are not sure you clicked the right button or entered a value correctly, this is where to look first to figure out what you just did.
Set Preferences
We'll more or less work our way down the Main Menu.
Main Menu > Preferences
In the Preferences for GUI Filtering dialog box, click on the box next to Structural so that a tick mark appears in the box. 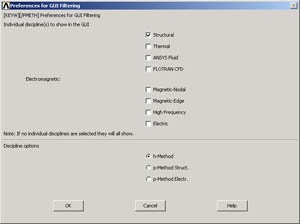
The effect of selecting the structural preference is that only menu options applicable to structural mechanics are shown in the graphical user interface; options related to other disciplines such as thermal, fluid and electromagnetics are grayed out. This helps a little while navigating the vast menu options within ANSYS. |
Click OK to close the Preferences dialog box.
Go to Step 2: Specify element type and constants
See and rate the complete Learning Module