 Sign-up for free online course on ANSYS simulations!
Unable to render {include} The included page could not be found.
Author: John Singleton and Rajesh Bhaskaran
Problem Specification
1. Pre-Analysis & Start-Up
2. Geometry
3. Mesh
4. Setup (Physics)
5. Solution
6. Results
7. Verification and Validation
Exercises
Under Construction!!
Results
Open CFD-Post
We'll create a separate CFD-Post module, as this is the easiest way to load the results for this project.
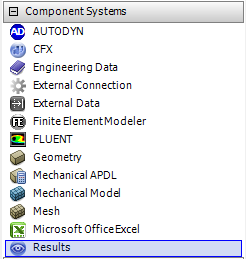
On the left of the main project window, expand Component Systems and double-click Results.
Your project schematic window should now appear as below.

Double click on the Results module that was just created to open CFD-Post.
Results
Now, we need to load the results of our FLUENT simulation.
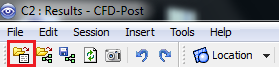
After opening CFD-Post, click the Load Results button in the upper left corner of the screen.
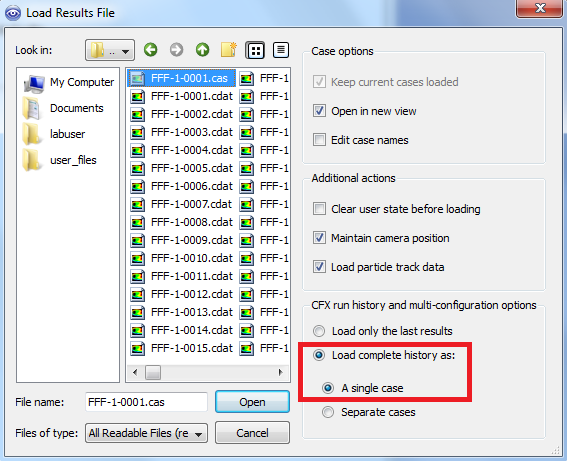
Next, browse to the location where you chose to save the FLUENT data files. Select the .cas file that is in this folder, which should be named "FFF-1-0001.cas", or similar. In the bottom right of this window, select Load complete history as: and Single Case. Finally, click Open.
Click OK in the popup window if one appears.
h4. Load Timesteps
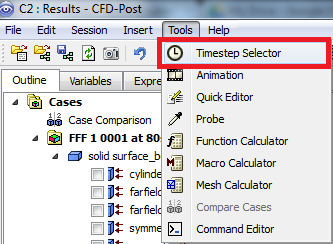
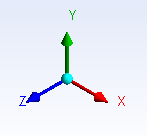
Click Tools > Time Step Selector to open the Time Step Selector.
Select the first time step, and click Apply. Leave the Time Step Selector window open, but continue to the next step.
h4. Create Vorticity Contour
Now, let's insert a contour of vorticity, in order to animate it.
While leaving the Time Step Selector window open, click Insert > Contour. Name it "Vorticity Contour".
Under Details of Vorticity Contour, select symmetry 1 from Locations.
Next, ensure that Variable is set to Vorticity.
Change Range to User Specified. Set the Min to 0.01 s^-1 and Max to 2 s^-1.
Enter 25 for Number of Contours. You should now see the following:
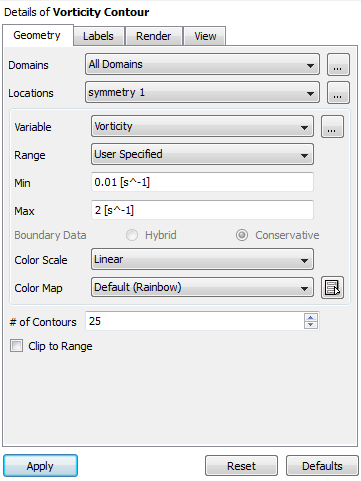
Click Apply to create the contour.
Next, let's set up the view we would like for the animation. You can see that we are currently viewing the 2D surface from a 3D, isometric perspective. To fix this, click the Z-axis in the axes triad in the lower corner.
Now let's zoom in to the are of interest. Select the zoom box tool from the upper toolbar.

Using the zoom box tool, click and drag a box that roughly encompasses the area shown below to zoom in on it.

Now we're ready to animate the vorticity contour over this zoomed-in area.
h4. Create Animation
Return to the Time Step Selector Window, which should still be open. Click the Animate Timesteps button.
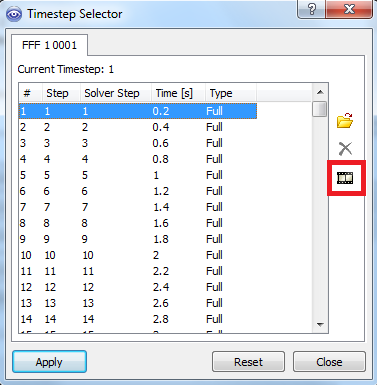
Select Keyframe Animation, and click the insert new keyframe button,  . Change the number of frames to equal the number of data files we saved to animate, in this case 400. Your Animation window should look like this:
Keeping the Animation window open, click back to the Time Step Selector window. Select time step #400, and click Apply. The Vorticity Contour on the right half of your screen should now have changed. Click back to the Animation window, and insert another new keyframe. This time, leave the number of frames set to 10.
We're now ready to set up the saving options for the animation. Click the arrow in the bottom right of the window to expand the options.
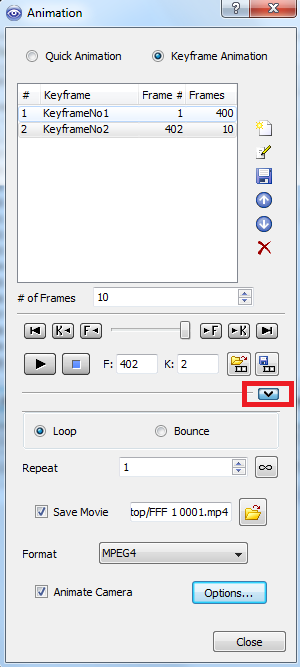
Check the box labeled Save Movie, and use the folder icon to set the desired file location and type.
Next, maximize your CFD-Post window, and click the play button in the Animation window to create the animation!
Your video should turn out similar to the one below.
Go to Step 7: Verification & Validation
See and rate the complete Learning Module
Go to all FLUENT Learning Modules