 Sign-up for free online course on ANSYS simulations!
Author: Ben Mullen, Cornell University
Problem Specification
1. Pre-Analysis & Start-Up
2. Geometry
3. Mesh
4. Setup (Physics)
5. Solution
6. Results
7. Verification & Validation
Pre-Analysis & Start-Up
Pre-Analysis
Click here to see the pre-analysis for this problem Remember, it is important to perform some sort of analysis to compare your simulation results to in order to verify your results.
Open ANSYS Workbench
Now that we have the pre-calculations, we are ready to do a simulation in ANSYS Workbench! Open ANSYS Workbench by going to Start > ANSYS > Workbench. This will open the start up screen seen as seen below
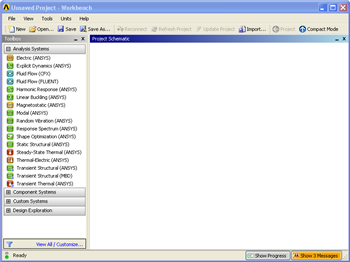
To begin, we need to tell ANSYS what kind of simulation we are doing. If you look to the left of the start up window, you will see the Toolbox Window. Take a look through the different selections. The plate with a hole is a static structural simulation. Load the static structural tool box by dragging and dropping it into the Project Schematic.
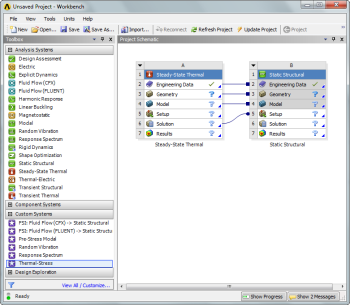
Name the Project "Project".
Now that the Material has been specified, we are ready to make the geometry in ANSYS.