 Sign-up for free online course on ANSYS simulations!
To import a surface to ANSYS in the Design Modeler, you will first need to create just the surface using a CAD program, such as Solidworks. Note that these instructions also apply to importing any part or assembly from Solidworks to ANSYS; you just need to skip the step in Solidworks on adding Surfaces.
Method I
In Solidworks:
- Right-click on the Features toolbar and add Surfaces if it is not already shown
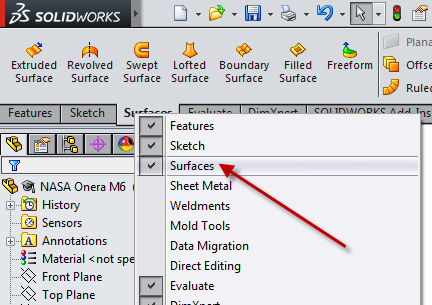
- Choose the type of surface you would like to create (extruded, revolved etc.)
- Create your desired surface
- Save the surface as a .STP file
...
- Create your project
- Right-click Geometry
- Select Import Geometry
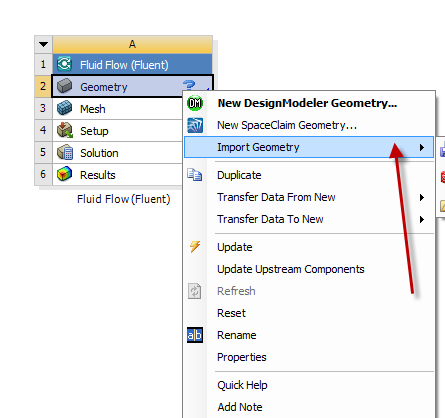
- Locate your file and select it
- Go into Design Modeler and Generate
...
Now you should be able to see your surface in Design Modeler.
Method II
After you have created the geometry in Solidworks and saved it:
In ANSYS
- Create your project
- Open Design Modeler
- Go to File>Attach Active CAD Geometry

- Click Generate
Now you can edit your Geometry in Solidworks and refresh it in Design Modeler after you have changed it.
To refresh the geometry in Design Modeler:
- In the Details window, click Refresh>Use Geometry Parameter Values
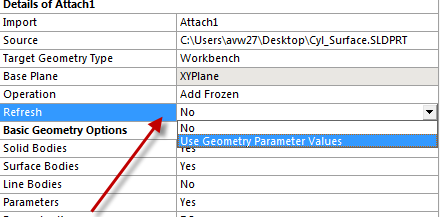
- Click Generate
Now your Geometry in Design Modeler will reflect the changes you made in Solidworks.
Method III
In Solidworks you can connect the geometry to Workbench:
- Go to Tools>ANSYS
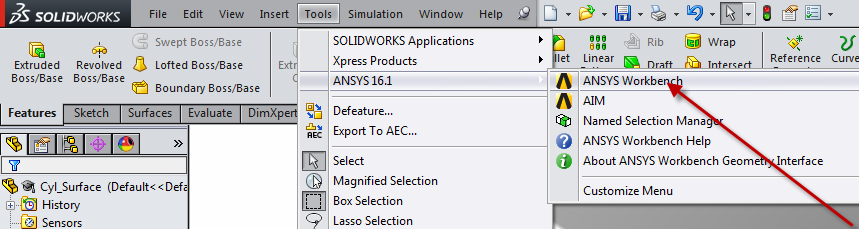
ANSYS Workbench will then open with the Solidworks file attached:
- Drag the Geometry onto the Geometry of your project
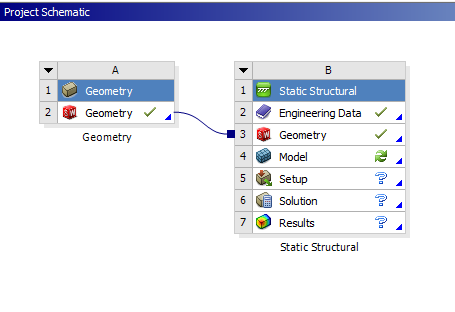
- You can then update the geometry from your CAD file directly
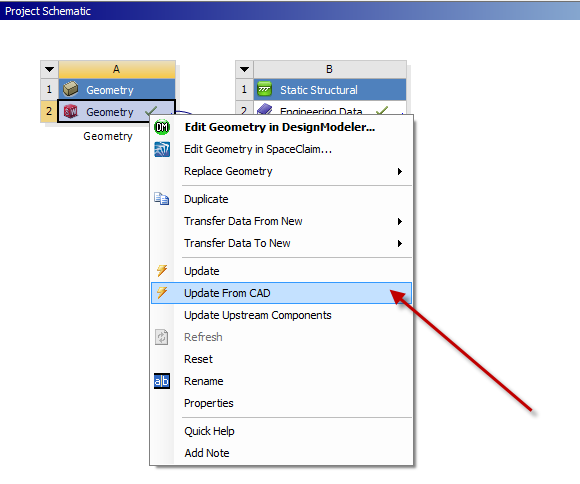
Now you should be able to update your geometry in Solidworks and refresh it in ANSYS