 Sign-up for free online course on ANSYS simulations!
...
| Include Page | ||||
|---|---|---|---|---|
|
Optimization
Set-Up of Optimization
Begin this step, by double clicking on Optimization.
...
Tip: Remember how we specified the radius to range from 1 to 2.5 inches to create the Response Surface? Well we now know that the optimized radius should be around 1.45 inches so no need to have that big a of range anymore. For a second round of optimization (not done in this tutorial), it would be a good idea to go back in Design of Experiments and change to lower and upper bound to be, say 1.4 and 1.5 inches respectively. A smaller range will give you a more accurate response surface which will help you optimize the radius further.
Obtaining the Graphical Results
At this point the Candidate Point 2 results will be inputted back into the Design Modeler. That is, the radius from Candidate Point 2 will be set as the radius of the hole in Design Modeler. In order to do so, (Right Click) Candidate Point 2 > Insert as Design Point.
...
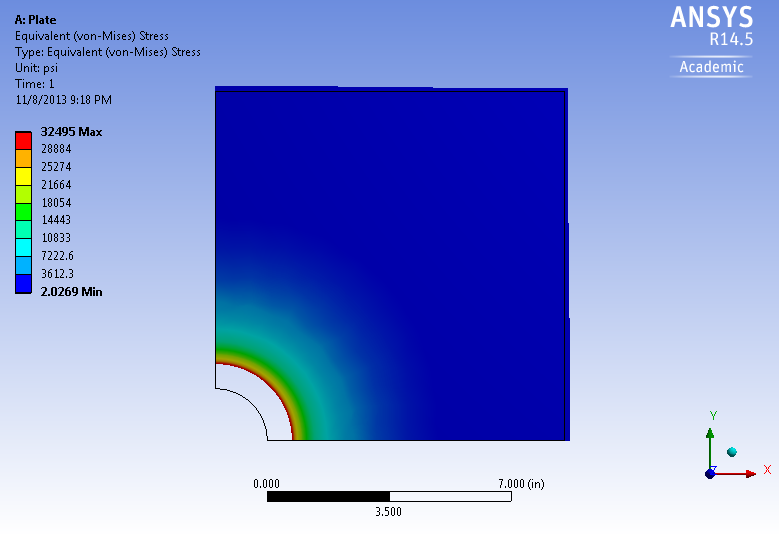
Equivalent Von Mises Stress
Go to Step 7: Verification & Validation