 Sign-up for free online course on ANSYS simulations!
| Include Page | ||||
|---|---|---|---|---|
|
Step 2: Geometry
In the Project Schematic of Workbench window Crank cell, right click on Geometry, and select Properties. You will see the properties menu on the left of the Workbench window. Under Advance Geometry Options, change the Analysis Type to 2D.
click New Geometry...
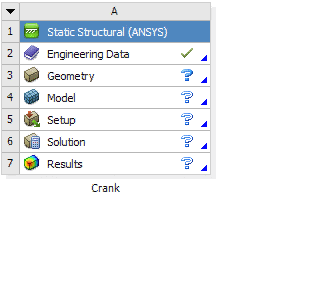
In the Project Schematic, double left click on Geometry to start preparing the geometry.
At this point, a new window, ANSYS Design Modeler will be opened. You will be asked to select desired length unit. Use the default meter unit and click OK.
...
You should have something like this:
Note: You do not have to worry about geometry for now, we can dimension them properly in the later step.
...
Since we have a heated section in the middle of the pipe, we need to split the geometry appropriately. Click Modify tab and select Split. Roughly select four points on the top and bottom of the rectangle where there will be heated section.
Dimensions and Constraints
...
Select Dimensions tab, use the default dimensioning tools. Dimension the geometry as shown:
Under Details View on the lower left corner, input the value for dimension appropriately.
V1: 0.0294 m
H2: 1.83 m
H3: 4.27 m
H4: 6.096 m
...
At this point, you should see something like this for your sketch:
Now that we have the sketch done,
...