Sign-up for free online course on ANSYS simulations!
| Include Page | ||||
|---|---|---|---|---|
|
| Include Page | ||||
|---|---|---|---|---|
|
Numerical Results
Load data from solution files
Watch the following video for demonstrations:
| HTML |
|---|
<iframe width="600" height="338" src="//www.youtube.com/embed/zdeqxjlmjYU" frameborder="0" allowfullscreen></iframe>
|
Summary of the video:
- Return to Workbench -> Component Systems -> Results(Drag into Project Schematic) -> Open Results
- Click on import data button -> Load complete history as -> "a single case"
Now return to Workbench and double-click on Results to open CFD-Post.
Plotting Velocity Vectors (3D)
...
Summary of the above video:
- Right-click on wall_artery > EditClick on the Render > Transparency → Edit → Render → Change "Transparency" to 0.7
- On the top toolbar, click on the vector icon
- Name it Velocity Vector
- For the Location in the Geometry tab, select fluid_zone
- Click Apply
...
Plotting wall shear on the artery wall:
Watch the following video for demonstrations:
| HTML |
|---|
<iframe width="600" height="338" src="//www.youtube.com/embed/aVe_s1VKmCc" frameborder="0" allowfullscreen></iframe>
|
The particle track file can be downloaded at this link.
Summary of the above video:
- Turn off Velocity Vector by unchecking the box next to Velocity Vector
- Go to File > Import > Import FLUENT Particle Track File
- Browse for part
- Double click on the particle track
- Go to Color tab
- For Variable, choose Velocity
- Apply
- Go to Symbol tab
- Check the box Show Symbols
- For Max Time is, choose Current Time
- For Scale, type 0.5
- Apply
- To animate this particle, click on the Animation icon next to the clock icon
- Click FLUENT PT for massless
- Press play to preview
- To save video, check box Save Movie
- Choose the speed of the video you want to playback
- To start the animation that will be saved, press play
- When you reach your desired time, press stop
Plotting and animating wall shear on the artery wall:
Watch the following video for demonstrations:
(Note: Since our problem is steady, we cannot animate the results. Please ignore that part of the video.)
| HTML |
|---|
<iframe width="600" height="338" src="//www.youtube.com/embed/r25eRX1o9zw" frameborder="0" allowfullscreen></iframe> |
Summary of the above video:
- Click on the Contours button
- Location → wall_artery
- Double click on FLUENT PT for Massless to turn it off
- Click on Location > select Surface Group
- Name it Artery Wall
- Under Geometry tab, choose wall_artery
- Under Color tab, choose Variable Wall → Wall Shear
- Apply
- Repeat the process from the previous tutorial to produce a videoClick Apply
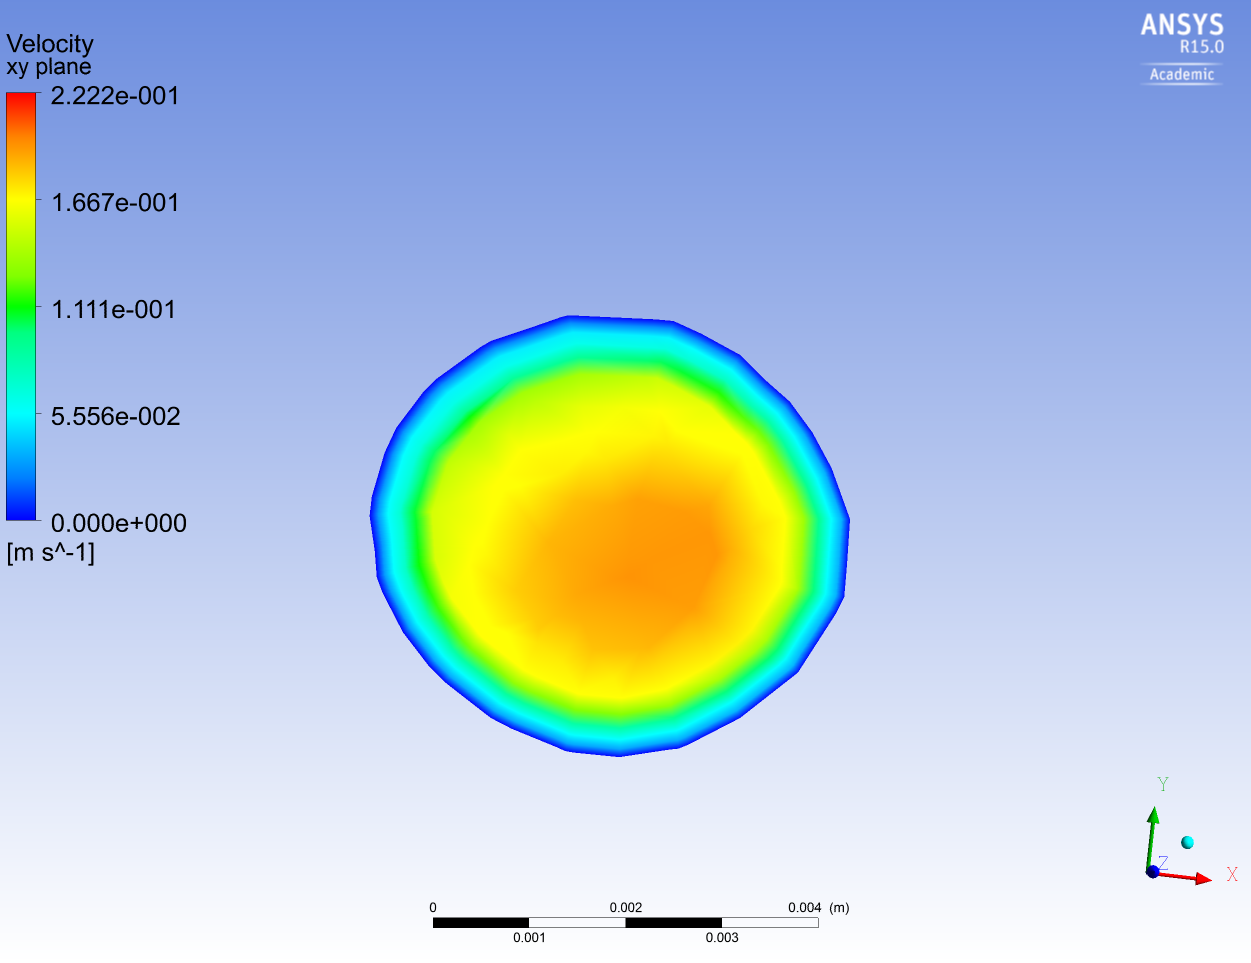
Creating a sweep for velocity profile at different sections:
...
- Turn off artery_wall
- Click on Location > select Isosurface
- Name it XY Plane
- Under Geometry tab, choose Variable Z
- For Value, drag the slider to the left-most left (smallest) value
- Under Color tab, change Mode to Variable
- For Variable, choose Velocity
- Apply
- Click on XY Plane for animation
- Repeat process from previous tutorial videosClick Apply
Plot contours at specific locations
...
Isosurface -> variable z -> Color by velocity -> turn off the walls and outlets and wireframe