We use several applications to build this email. First all the (sized photos, copy edited text) assets should be posted in your to-do in Basecamp. You will need to download all the photos and text document first.
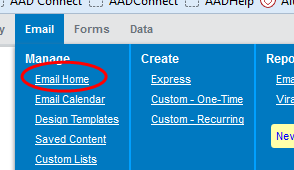
Open iModules and select "Email Home" from the "Email" tab.
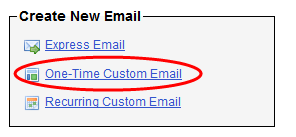
Select the "One-Time Custom Email" from the "Create New Email List
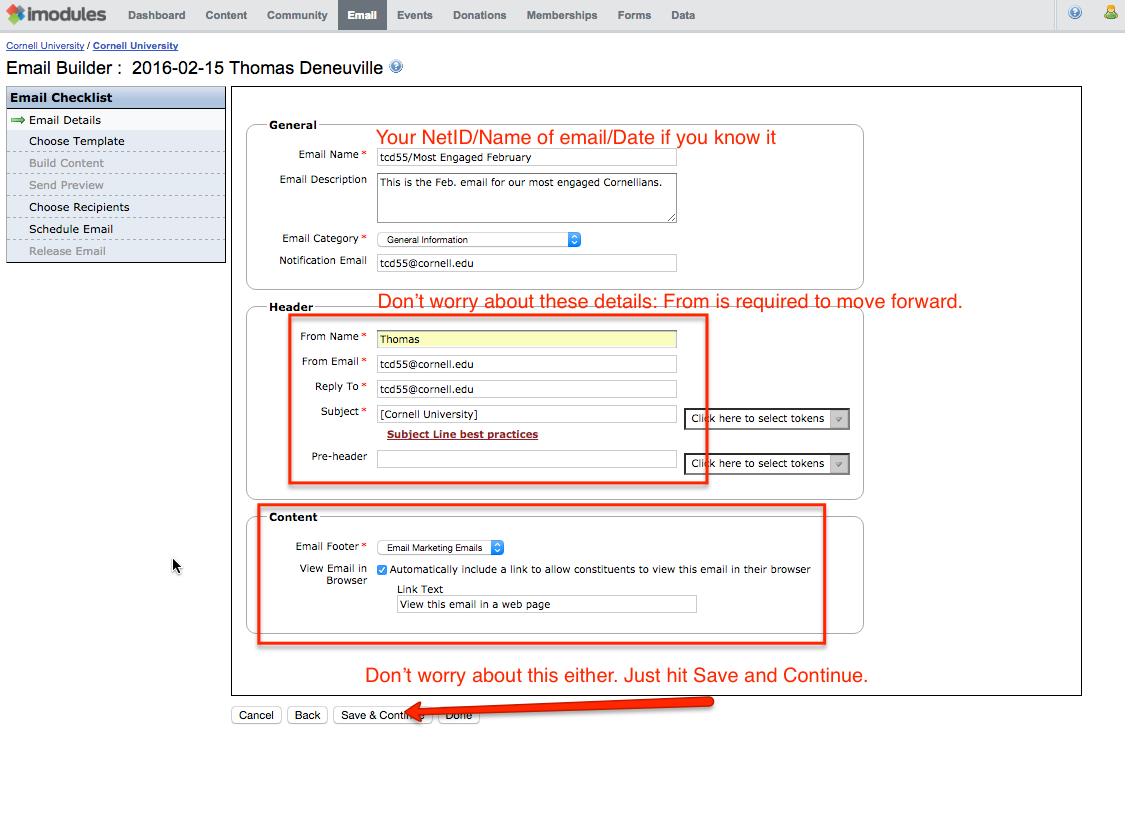
Email Details:
General section
Email Name – "netid/name of email/date(if you know it)" so the most engaged email I'm building would be – djm6/Most Engaged November 2016
Email Description – Short description of the email.
Email Category – Leave it on "General Infomation"
Notification Email – automatically fills in your email address
Header section
From Name – enter your name in this field (first name only is fine)
From Email – is automatically filled in.
Reply To – is automatically filled in.
Subject – a lot of times the "subject line" is in the text document so you can fill this in, if it's not don't worry about it.
Pre-header – a lot of times the "pre-header" is in the text document so you can fill this in, if it's not don't worry about it.
Content
You don't need to change anything in this section.
Click the "Save & Continue" button
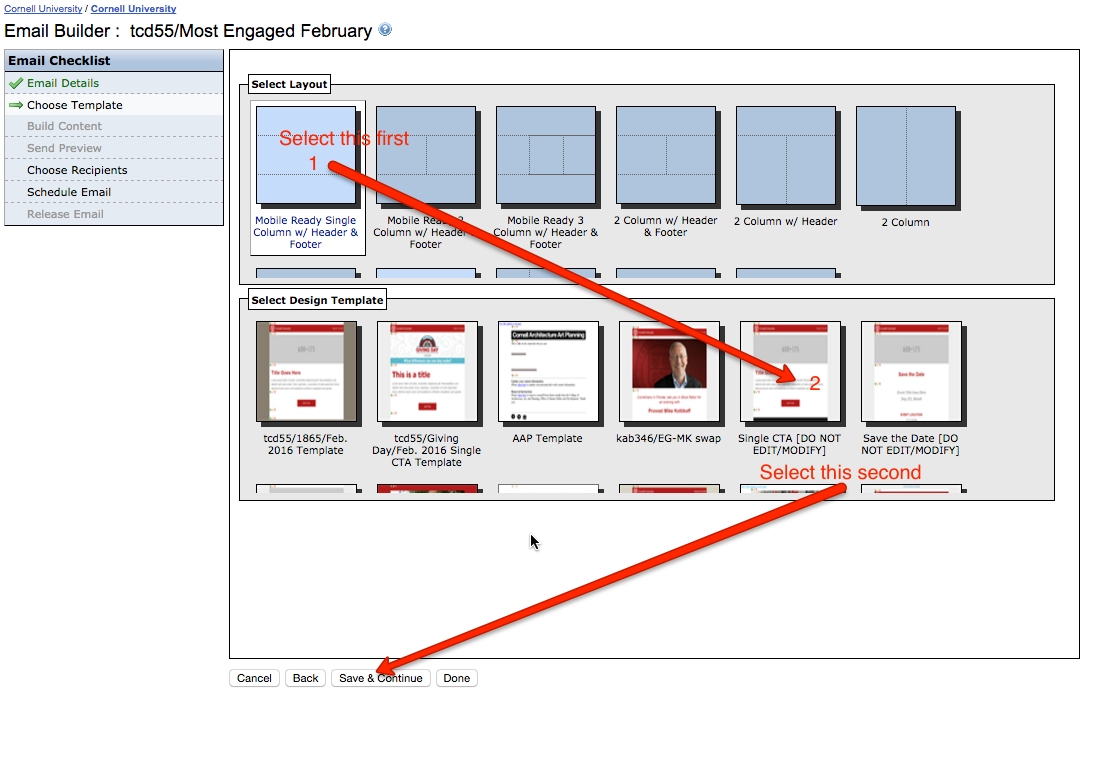
Choose Template:
First click on the first icon on the left, this will show you the templates in that style.
Second click on the one titled "Single CTA (DO NOT EDIT/MODIFY)"
Click the "Save & Continue" button
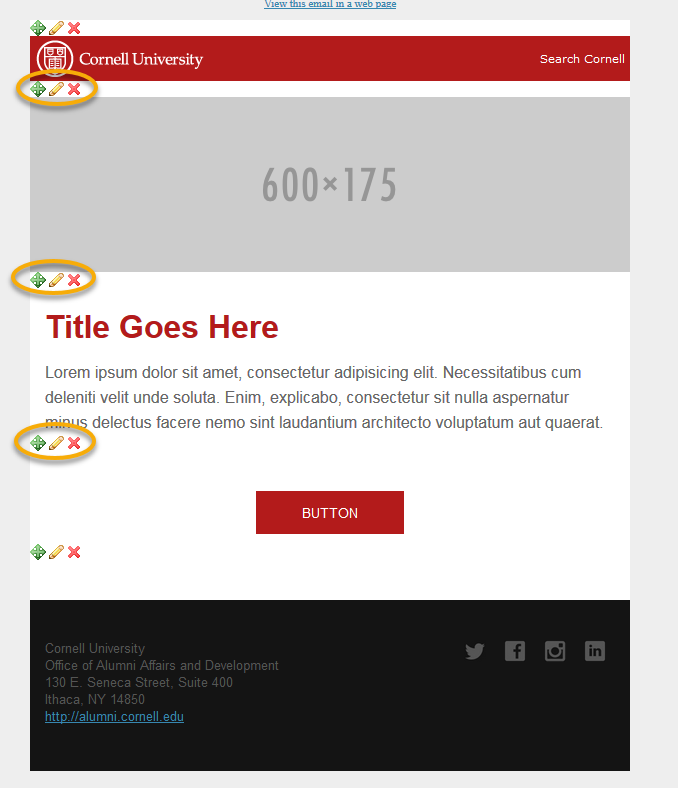
The Template will look like this. Since we will be building the email in Litmus the only sections you will need are the header at the top an the footer at the bottom. There are 3 sections in between that you can delete using the X in the highlighted areas.
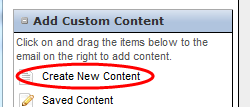
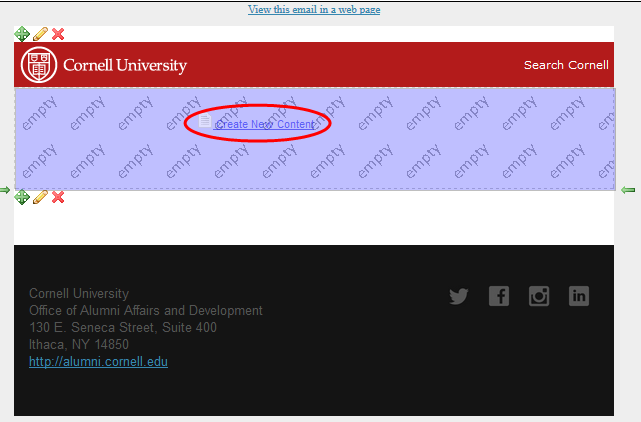
In the left column you will see "Create New Content". You need to click and drag "Create New Content" to the now "empty" section.
I usually to add the images for the email into iModules at this point.
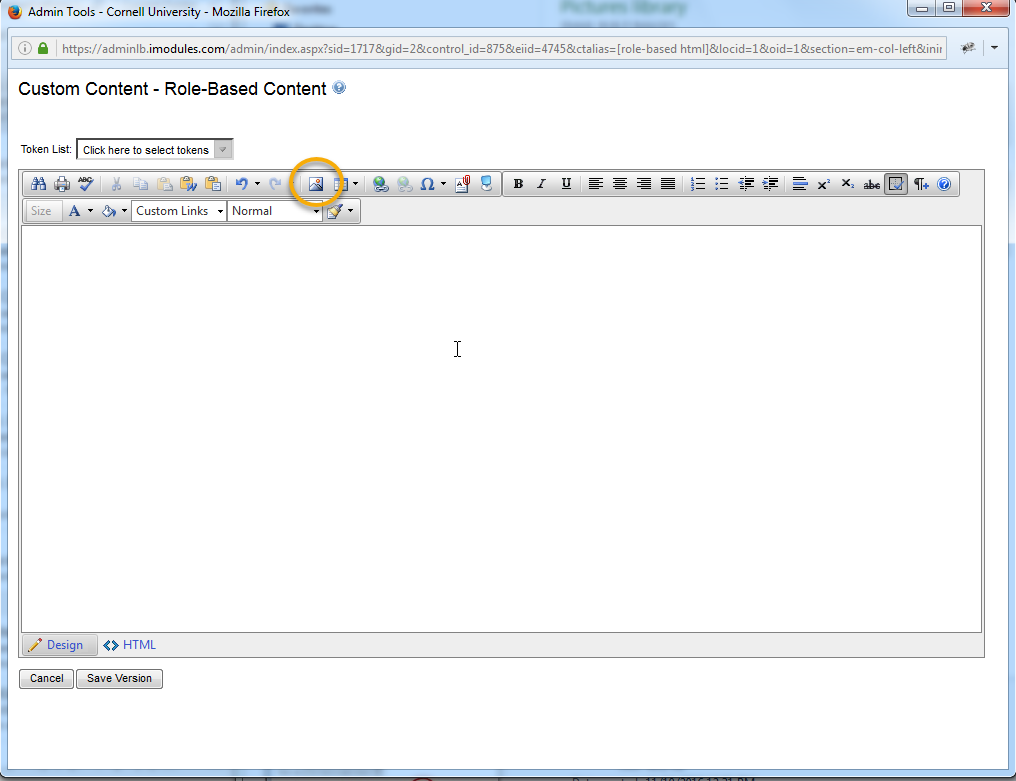
Click on the photo icon highlighted in the image on the left.
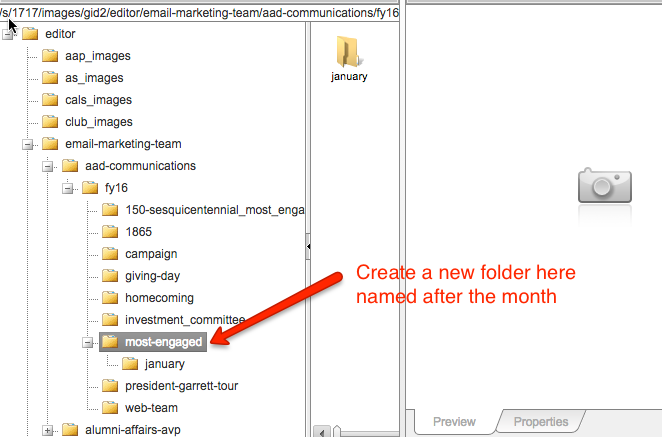
You will need to locate the folder that you will be adding the email's assets to.
The path is:
email-marketing-team / aad-communications / fyXX (current fiscal year) / most-engaged / (create new folder for month)
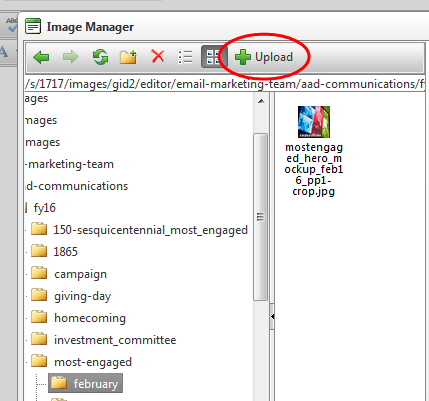
Click on the new folder and click the upload button.
