 Sign-up for free online course on ANSYS simulations!
 Problem Specification |
...
Step 3: Specify Boundary Types in GAMBIT
...
Note that GAMBIT adds the edge to the list as it is selected in the GUI.
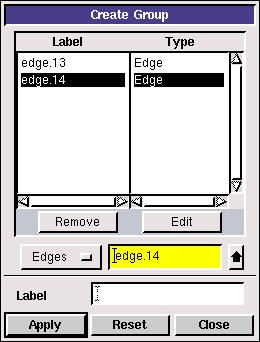
Click Apply.
In the transcript window, you will see the message "Created group: farfield".

Similarly, create the other two groups. You should have created a total of three groups:
...
Operation Toolpad > Zones Command Button  > Specify Boundary Types!btype_cb.jpg!
Under Entity, select Groups.
Click on the wedge surface. Next to Name:, enter wedge. Leave the Type as WALL.
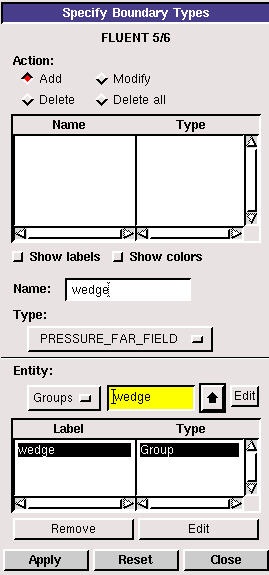
Click Apply.
In the Transcript Window, you will see a message saying "Created Boundary entity: wedge".
...
Check to make sure that the file is created.