 Sign-up for free online course on ANSYS simulations!
...
- Turn on node numbers (in addition to keypoint and area numbers) using Utility Menu > PlotCtrls > Numbering
- Display elements and nodes together: Utility Menu > PlotCtrls > Multi-Plot Ctrls > OK. Leave only Nodes and Elements turned on and click OK. Select Utility Menu > Plot > Multi-Plots.
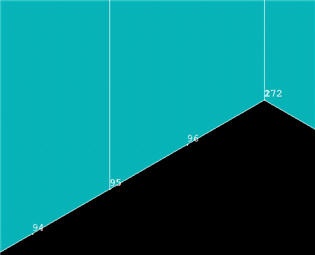
- Zoom into the bottom-center of the model as in the snaphsot below. At the bottom of the symmetry plane, you should notice that there are actually two nodes, 2 and 172. Node 2 is associated with the original area and node 172 with the copy. We'll merge coincident nodes a little later. (Note that your node numbers may be different from mine since numbering can vary on different computer systems.)
 * h4.
* h4.
Copy Mesh in y-Direction
Plot areas: Utility Menu > Plot > Areas
Click on the Fit View and Isometric View icons in the rightmost part of the GUI.
Copy areas: Main Menu > Preprocessor > Modeling > Copy > Areas
Pick A1, A2, and A5 and click OK.
Copy Areas menu: Leave Number of copies as 2. For Y-offset, enter L1/(2*NSY); delete X-offset; leave Z-offset blank and click OK.
Check the resulting mesh for sub-section ABCD: Utility Menu > Plot > Elements
Turn-off node numbers to reduce clutter.
...