 Sign-up for free online course on ANSYS simulations!
| Panel |
|---|
Author: Benjamin Mullen, Cornell University Problem Specification |
| Note |
|---|
Under construction.Continue |
Pre-Analysis & Start-Up
Open ANSYS Workbench
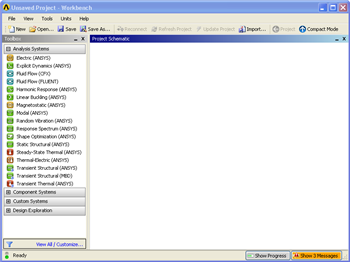
We are ready to do a simulation in ANSYS Workbench! Open ANSYS Workbench by going to Start > ANSYS > Workbench. This will open the start up screen seen as seen below
Screen Management
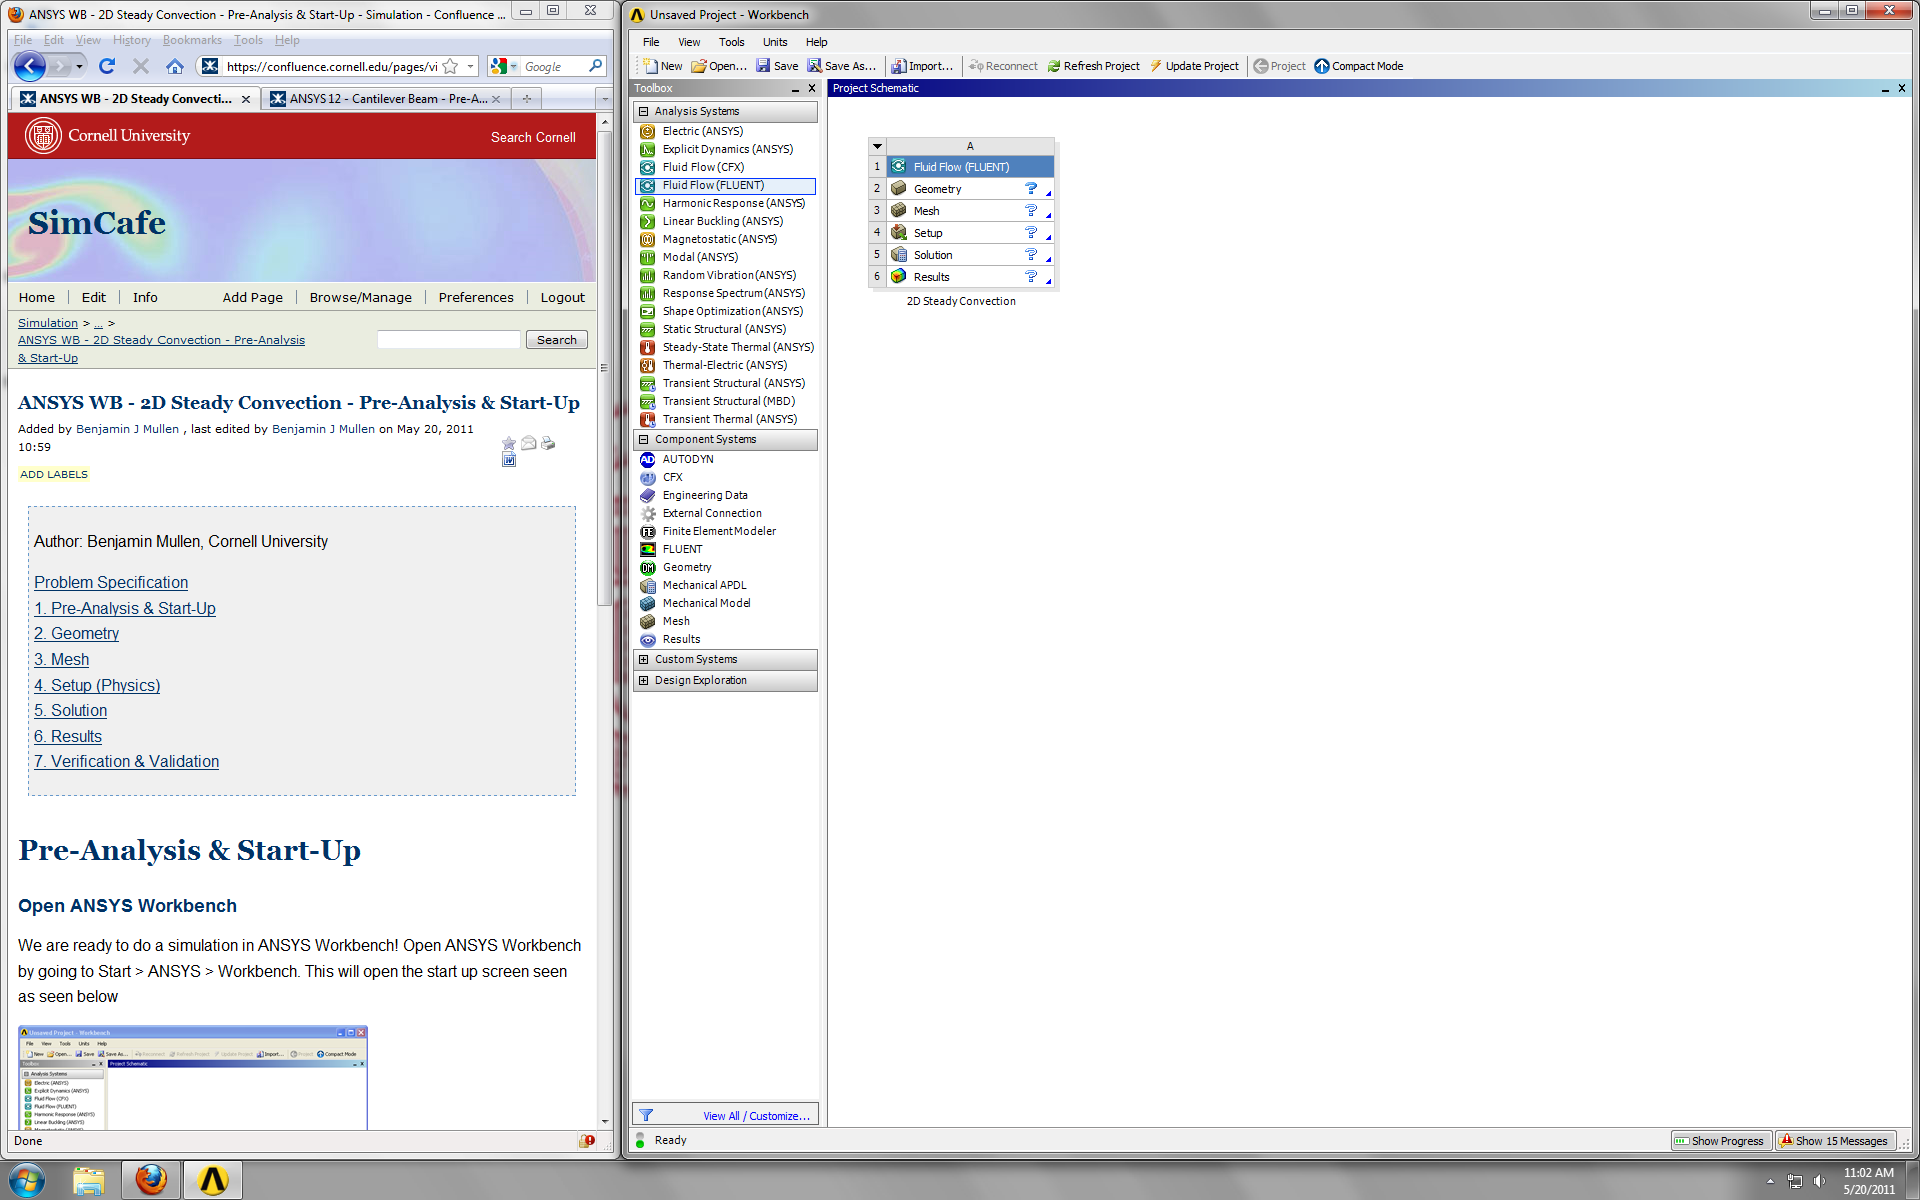
This tutorial is designed such that the user can have both ANSYS Workbench and the tutorial open. As shown below, this online tutorial should fill approximately 1/3 of the screen, while ANSYS Workbench fills the remaining 2/3 of the screen.
Setup Project
To begin, we need to tell ANSYS what kind of simulation we are doing. If you look to the left of the start up window, you will see the Toolbox Window. Take a look through the different selections. We will be using FLUENT to complete the simulation. Load the Fluid Flow (FLUENT) box by dragging and dropping it into the Project Schematic.
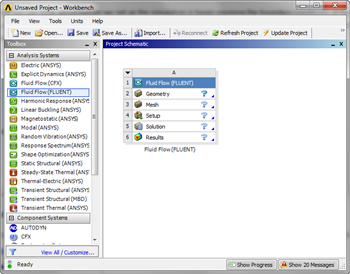
Right click the top box of the project schematic  and go to Rename, and name the project
 2D Steady Convection.You are ready to create the geometry for the simulation.