 Sign-up for free online course on ANSYS simulations!
...
| Note |
|---|
Under Construction |
Geometry
For this problem, we are going to import the geometry into ANSYS from a CAD package. Download the part file here. Save the file somewhere convenient, like your desktop or your working directory.
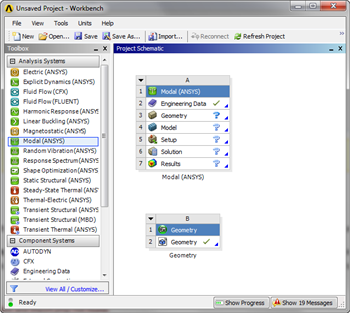
To open the file in ANSYS, go to File > Import. Browse to the geometry location on your computer. If you do not see the file, make sure you are browsing for geometry files (the pull down menu at the bottom right of the browsing window for computers running Windows 7). Select the Geometry and click Open. This will import your geometry into ANSYS. Your project window should now include the main project, and the newly imported geometry (see below).
To connect the geometry to the project, click and drag the  . As soon as you drag the box, ANSYS will highlight the geometry and model boxes in the main project.
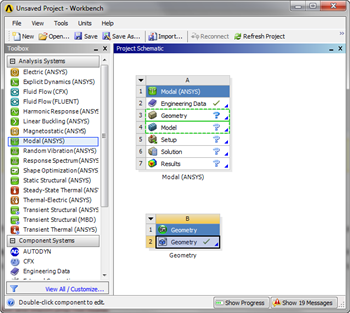
Drag and drop the geometry box onto 
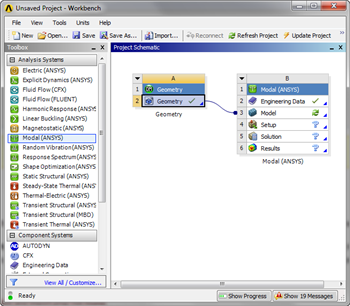
The geometry has been connected the project and we are ready for the next step.