 Sign-up for free online course on ANSYS simulations!
...
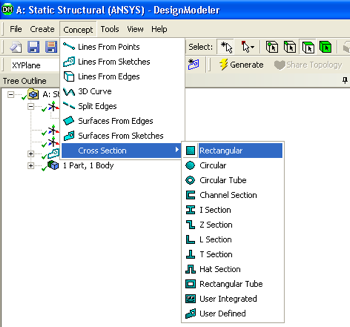
Now, a cross section will be given the line body. First go to "Concept" then go click on "Cross Section" then finally click on "Rectangular", as shown below.
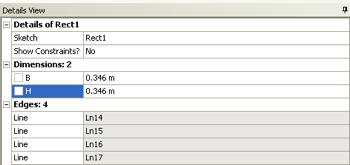
Now, the width and height of the cross section need to be defined. Under "Details View" set B to 0.346 meters and set H to 0.346 meters, as can be seen below.
Then click on the Generate button,  .
.
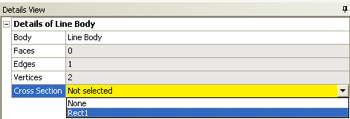
Merge the Cross Section with the Line Body
Now the defined cross section will be "merged" with the line body. First, expand "1 Part, 1 Body" which is located in the "Tree Outline". Next, click on "Line Body", and there should be a yellox box to the right of Cross Section under the "Details of Line Body". Click on the yellow box and select "rect1" as seen below.
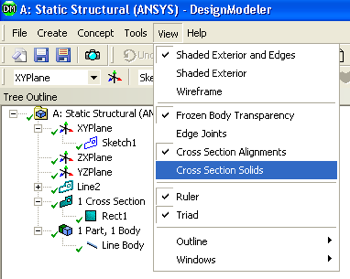
Verify Geometry
At this point the specified geometry can be checked in order to make sure all has gone well. Click on "View" and then "Cross Section Solids", as shown below.
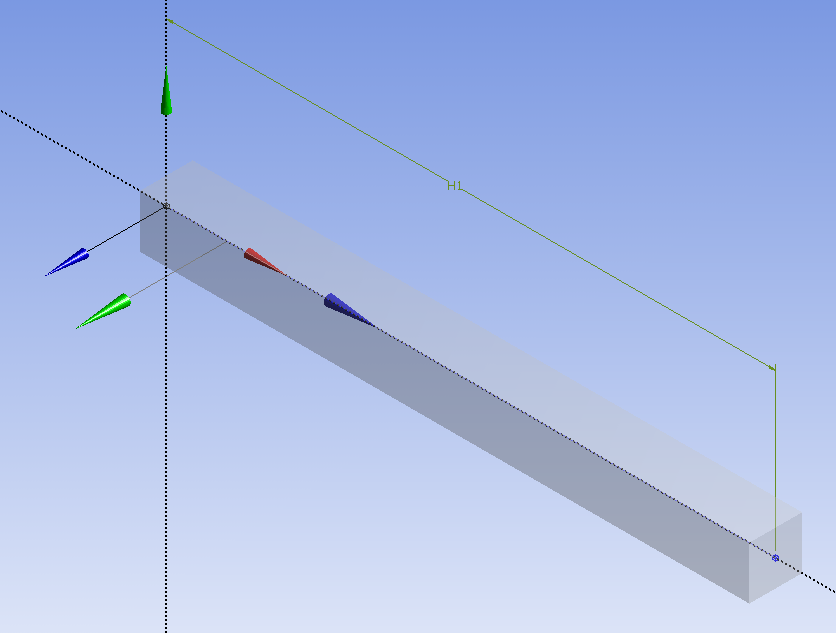
If you click on the "1 Cross Section",  , in the Tree Outline and then click on the light blue dot,
  , you should now see a three dimensionally rendered beam in an isometric view.
At this point, the Design Modeler window can be closed.
...