 Sign-up for free online course on ANSYS simulations!
...
Click the FIT TO WINDOW button to scale the display so that you can see all the vertices. The resulting image should look like this:
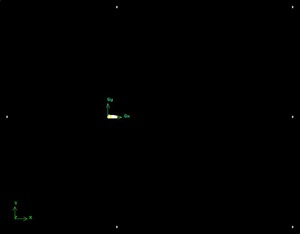 (Click picture for larger image)
| newwindow | ||||
|---|---|---|---|---|
| ||||
https://confluence.cornell.edu/download/attachments/90742023/01farfield_verticesfull.JPG?version=1 |
Now we can create the edges using the vertices created.
...
Similarly, create an edge corresponding to arc EF.
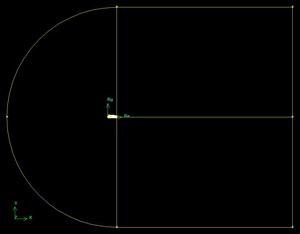 (Click picture for larger image)
| newwindow | ||||
|---|---|---|---|---|
| ||||
https://confluence.cornell.edu/download/attachments/90742023/01farfield_edgesfull.JPG?version=2 |
Create Faces
The edges we have created can be joined together to form faces. We will need to define three faces as shown in the image above. Two rectangular faces, rect1 and rect2 lie to the right of the airfoil. The third face, circ1 consists of the area outside of the airfoil but inside of the semi-circular boundary.
...