Connect to the Server

  1. Generate EC2 Key 
    1. If you has EC2 key, you can skip this step. 
    2. In the EC2 VM, generate key by using
      ssh-keygen
    3. Hence, we get id_rsa (private key) & id_rsa.pub (public key)
    4. Store into the folder in home/accountnumber/.ssh => /home/username/.ssh/filename
      mv id_rsa.pub authorized_keys 
    5. Move the private key into ubuntu
    6. Download id_rsa from local 
      scp root@1.1.1.1:/pwd ./
  2.  Connect to EC2:
    1. ssh -i  <private.key> -L 6445:localhost:6443 username@ssh.diaper-project.com
      1. -L mean to forward server's port to local, because Kubernetes exposes port 6445, we would like to forward it to localhost:6443.
      2.  Username is your NetID. An admin account holder should be able to create the linux account for you.

    2. If permission error

      sudo chmod 600 private.key
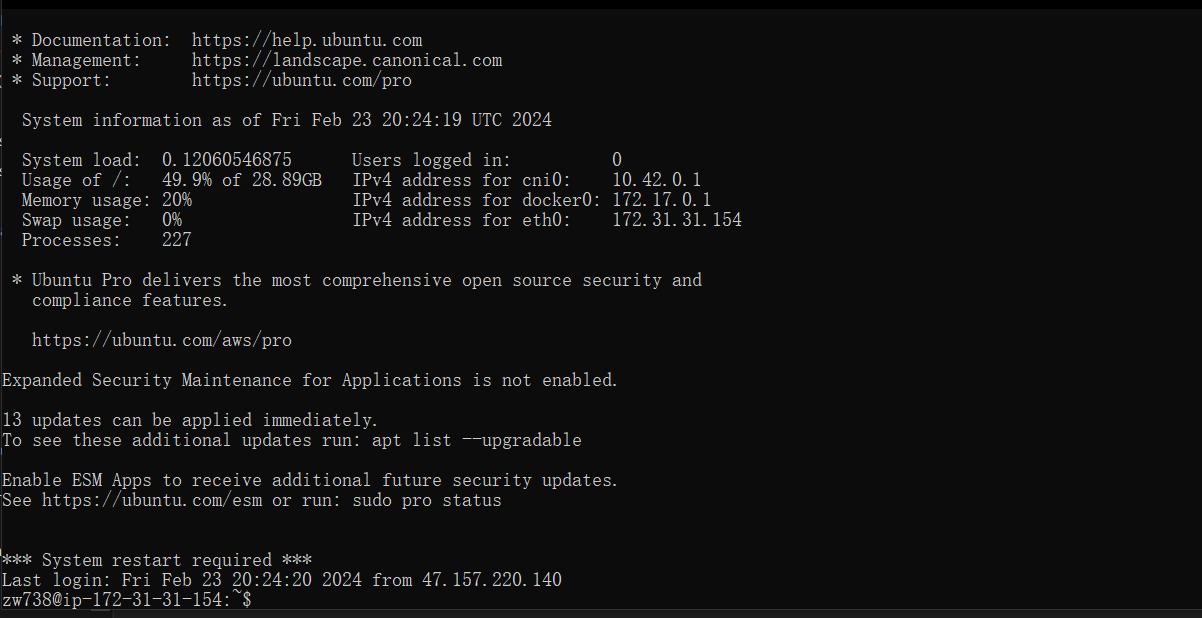
    3. You should see a pop-up looks like this, which means that you have already connected to the server.

Connect to Kubernetes

Reminder, before connecting to the server. You need to ask the admin for a server token. 

  1. Install Kubernetes by Docker (you might want to use Docker to build images), check out Install and turn on Kubernetes
  2. There are various UI explorers for Kubernetes. Such as k9s, check out Install (k9scli.io).
  3. Add the server cluster credentials in the Kubernetes config file. (In Mac, config file is located in ~/.kube). The configuration is as follows:
    1. apiVersion: v1
      clusters:
      - cluster:
          certificate-authority-data: LS0tLS1CRUdJTiBDRVJUSUZJQ0FURS0tLS0tCk1JSUJlRENDQVIyZ0F3SUJBZ0lCQURBS0JnZ3Foa2pPUFFRREFqQWpNU0V3SHdZRFZRUUREQmhyTTNNdGMyVnkKZG1WeUxXTmhRREUzTURjeE56SXpNRFl3SGhjTk1qUXdNakExTWpJek1UUTJXaGNOTXpRd01qQXlNakl6TVRRMgpXakFqTVNFd0h3WURWUVFEREJock0zTXRjMlZ5ZG1WeUxXTmhRREUzTURjeE56SXpNRFl3V1RBVEJnY3Foa2pPClBRSUJCZ2dxaGtqT1BRTUJCd05DQUFSeG5lcFhxd1oxSUNGcXBrcmNqNkNIdDlxK3daSUV6N093ajM5VXJmRnoKTHBBS2tpUzhpS2NIRGNHMTZiazFjaEhzbVdTLzZjV0ptZm5ueEs3cTg2WDNvMEl3UURBT0JnTlZIUThCQWY4RQpCQU1DQXFRd0R3WURWUjBUQVFIL0JBVXdBd0VCL3pBZEJnTlZIUTRFRmdRVUpsRGJlajRVa2IyV0ZVRjBDREd2CnNrWkUzOG93Q2dZSUtvWkl6ajBFQXdJRFNRQXdSZ0loQUxKelRCZTQyZFZtMmtTWUJWQW5TZW05bWw1TSt1NVcKQVkya1cyamcvMy80QWlFQXdhMTlENk1IcThPTS9pMTlSWitXYUxrdkJYV3Uwb1MwWmJCV2UzdFJvY2c9Ci0tLS0tRU5EIENFUlRJRklDQVRFLS0tLS0K
          server: https://127.0.0.1:6445
        name: diaper-server
      contexts:
      - context:
          cluster: diaper-server
          user: <Kubernetes service account name>
        name: diaper-server
      current-context: diaper-server
      kind: Config
      preferences: {}
      users:
      - name: <Kubernetes service account name>
        user:
          token: <Kubernetes service account token>
  4. Connect to the Kubernetes cluster using the command
    1. k9s
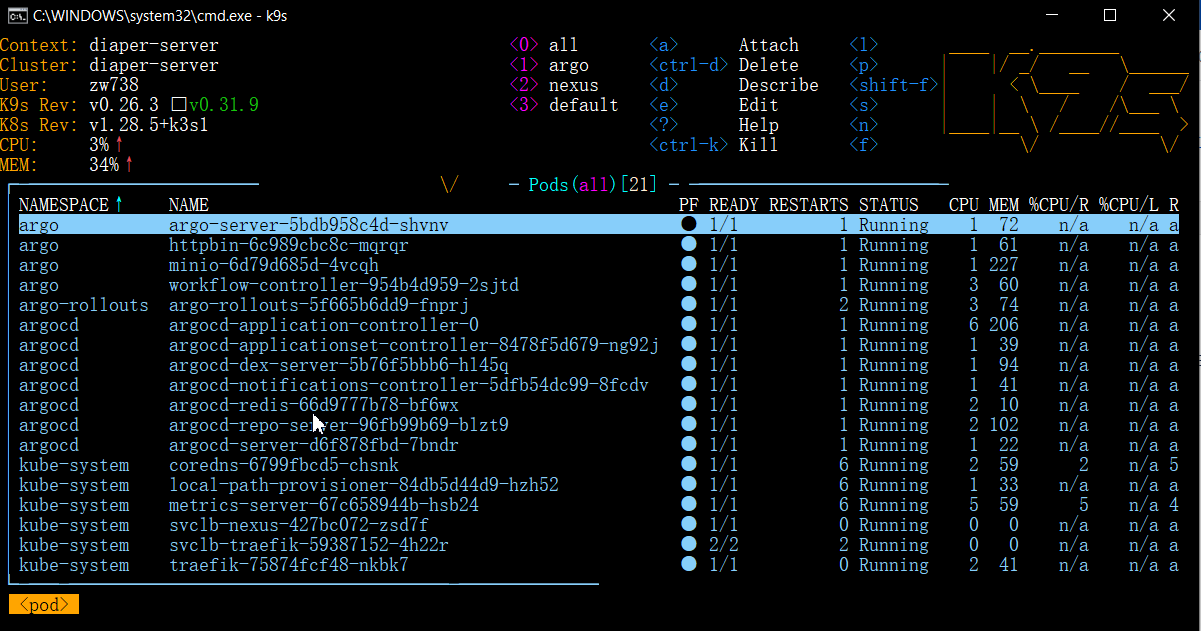
  5. then you have
    1. If you don't see all pods running, it is probably because you're viewing a specific namespace. You can simply press '0' to view pods in all namespaces.
    2. To navigate between Services, Deployments, or Pods, you can type 
      :services       or       :deployments       or       :pods
    3. To port-forward a pod, type shift+F.  To view the log, type l. To kill a pod, type ctrl+k.... You can always view these commands by typing ?(question mark).

More k9s Tutorial: derailed/k9s: 🐶 Kubernetes CLI To Manage Your Clusters In Style! (github.com)