...
- Enable the tool in Coral.
- Determine the correct objective(s) (10X, 25X, and 63X available) for your application.
- Select the objective in the microscope control console near the keyboard.
- Ensure the Process light on the tool (green) is not lit. If it is currently lit, ensure that the Holder Exchange dialog is open. If not, click Exchange Holder.
- Press the Open button, it should flash and the lid can now be opened.
- Open lid and sample holder lid.
- Remove black cap from center-most microscope position, install the objective
- Objective should be inserted only until rotation stops. Do not overtighten.
- For the 25X objective, ensure the correct Adjustment Ring setting is selected. For most cases, Glyc with the 3 longest bars is used.
- Install resin stop on the objective.
- For 10 and 25X, a silicone stop is used. For the 63X, a fiber ring is used.
- Select an appropriate sample holder and place on the white and black support with the Resist side facing up.
- Place your substrate in the holder and tape down with at least two strips of tape from the dispenser.
- Place a drop of resin on the substrate.
- For 63X oil-based printing, please be sure to place the oil on the proper orientation - the oil should be in contact with the lens, not the resin
- Ensure the sample holder lid in the printer is placed in the partially opened position, supported by the latch.
- Bring sample holder to printer. Immediately before inserting, flip sample holder upside-down and insert in the printer.
- For all resin-based prints, the resin side of your substrate should be facing the objective.
- For oil-based printing, the oil side should be facing the objective
- Close sample holder lid and secure down with both clamps.
- Ensure all lens holders, tools, etc. are clear of the tool and close the main lid.
- Select the correct sample holder and sample position in the Exchange Holder dialog box.
- For standard prints, click Approach Sample. For manual interface finding, please see the information provided in Manual Interface Finding.
- Click Load Job and select your XXX*_job.gwl file.
- Click Start Job.
- When printing has finished, click Exchange Holder. Leave this dialog box up for the next user.
- Partially open sample holder lid and remove print, inverting it so that it is resin-side up.
- Open sample holder lid and remove the objective; you may leave the resin stop on if there is resin on it during this process, otherwise you may remove the resin stop first.
- Clean objective as outlined in objective cleaning
- Log out from tool
- Develop your samples as outlined in the sample development section
...
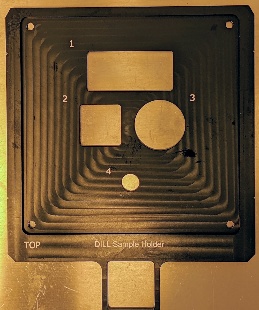
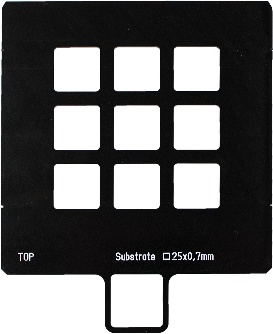
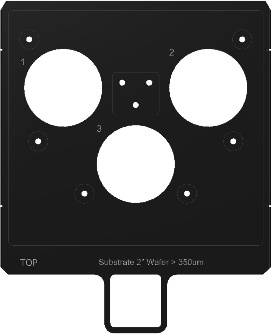
| Sample Holder | Substrate Type | Substrate Thickness | Holder Image | CAD Files | ||||||||
|---|---|---|---|---|---|---|---|---|---|---|---|---|
DiLL |
|
|
| |||||||||
| Fused Silica Substrate, ITO-Coated substrate, Silicon Substrate: 25 x 25 mm² | 0.70 mm, 0.70 mm, 0.725 mm | 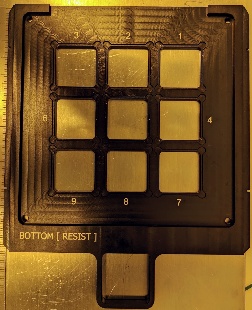 | *Note: some dimensions are approximated | ||||||||
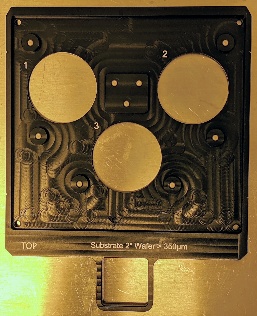
2" Wafer | Ø 2 inch Wafer | 0.35 – 0.55 mm |
| |||||||||
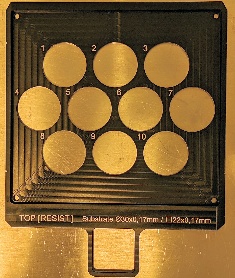
10 × Ø 30 mm | Ø 30 mm | 0.17 mm |
|


...