...
- Login to your AWS account through the AWS Web console. The link http://signin.aws.cucloud.net will take you to your account.
- Now navigate to the IAM service dashboard and click on "Roles" in the left navigation. Alternatively, just clink on this link to get there: https://console.aws.amazon.com/iam/home?region=us-east-1#/roles
- Click on "Create New Role" button.
- Enter a named for the new role. The name must begin with the prefix "shib-" and contain no other hypens. E.g., "shib-example". Click "Next Step".
- For the next step, select "Role for Identity Provider Access" and then click on "Select" for "Grant Web Single Sign-On (WebSSO) access to SAML providers.
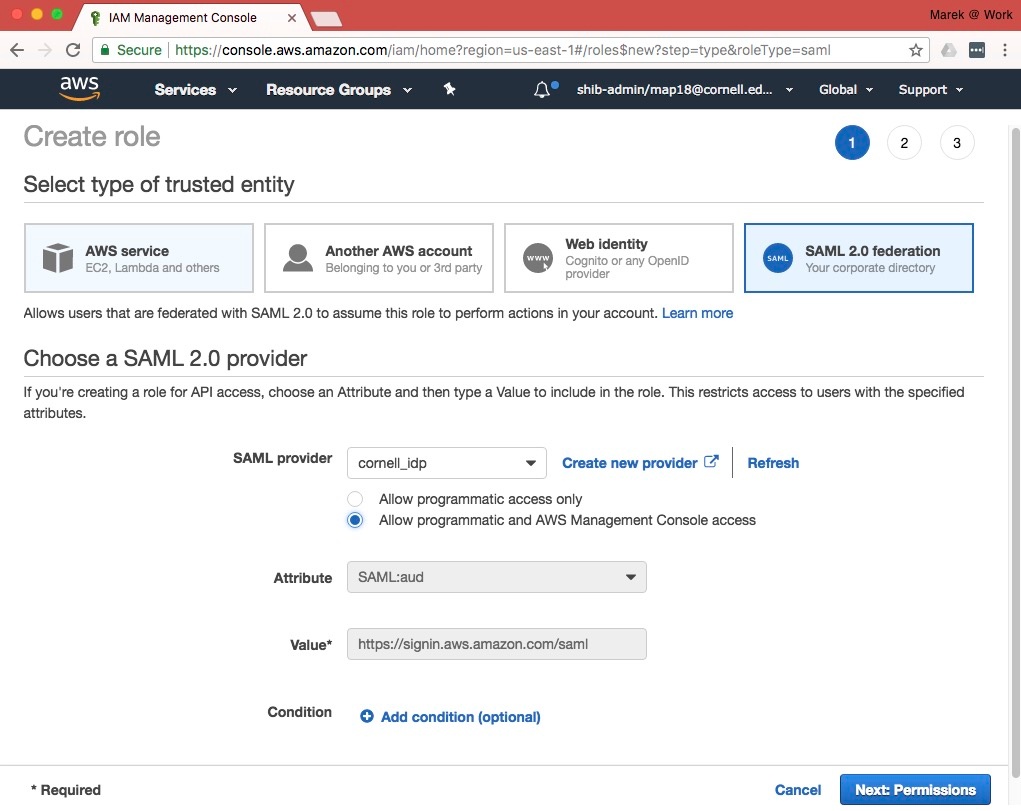
- Select "SAML 2.0 federation" for "type of trusted entity"
- Select "On the next screen, select "cornell_idp" for the value of "SAML provider"
- Select "Allow programmatic and AWS Management Console access"
- The attribute will autofill with "SAML:aud". Leave as is.
- The value will autofill with "https://signin.aws.amazon.com/saml". Leave as is.
- Skip "Add Condition"
- Click on "Next: Permissions" button and click "Next Step".

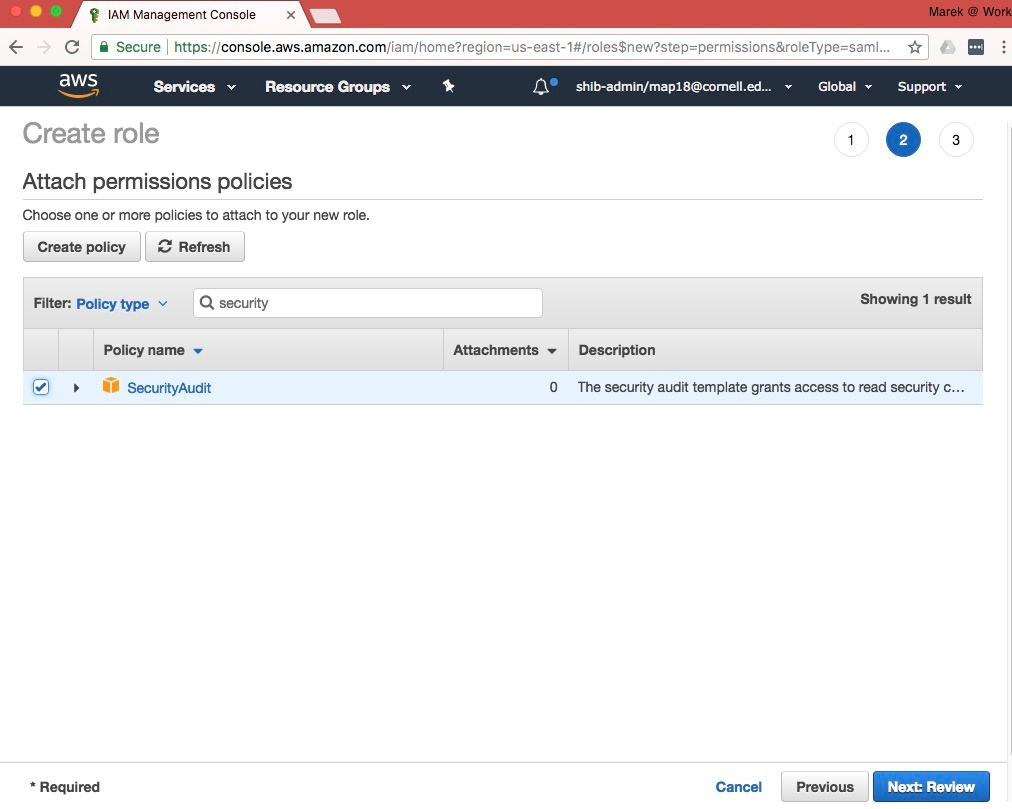
- In the "Attach Policy" step, search for and select the existing policies you wish to assign to the new role. You can select AWS-managed policies, or custom policies that you created. You will be able to change the policies attached to the role later, so don't worry too much about getting this exactly right. You will also be able to add custom inline-policies to the role later as well. For this example, we selected the "SecurityAudit" AWS-managed policy. Click on "Next Step: Review" when you are finished selecting policies. If you don't know exactly which policy to assign, you can skip this step and not assign any.
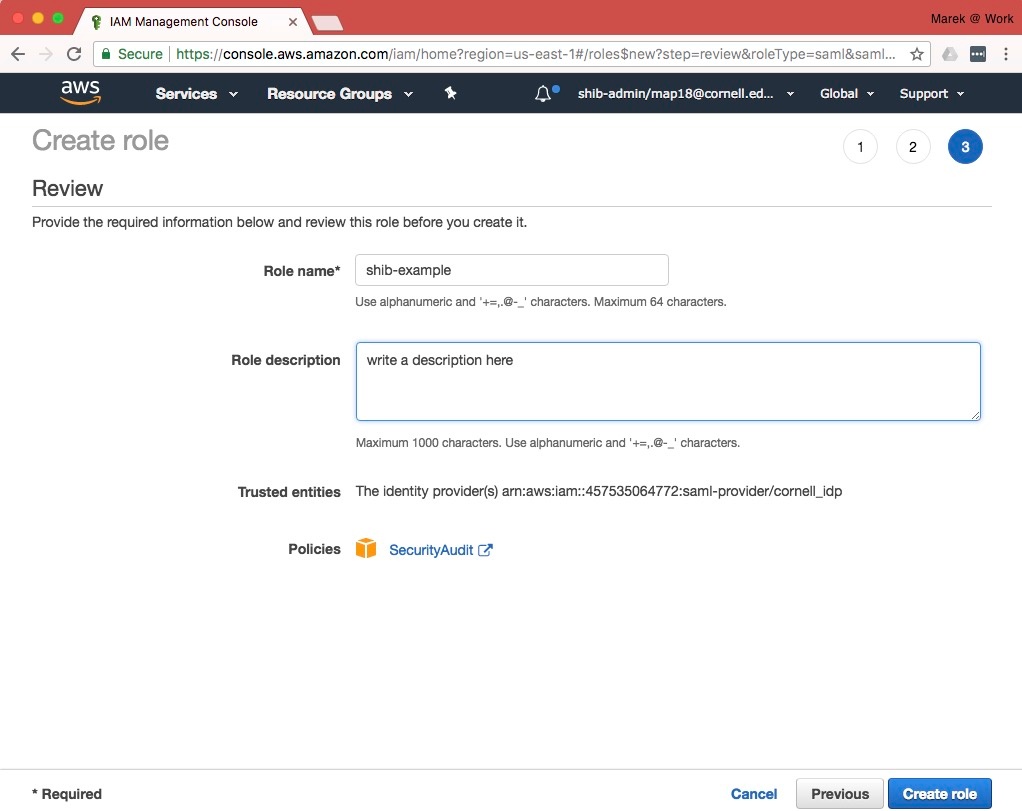
- Enter a named for the new role. The name must begin with the prefix "shib-" and contain no other hypens. E.g., "shib-example". Enter a Role Description.
- Review the remaining fields. Click In the next step you have a chance to confirm the configuration. Click on "Create Role".


Setup an AD Group for the New Role
...