1 - Make sure your query meets the specifications described on the Preparing a Canned Report or Ad Hoc Report for cul-folio-analytics page.
1 2 – Create an entry for the report on the FOLIO Canned Reports Directory at at
https://confluence.cornell.edu/display/folio/FOLIO+Canned+Reports+Directory
2 – Under “All Reports,” pick the next CR number or AHR number and add a row at the end of the All Reports table. Enter all the information listed in the columns. Duplicate this entry in the appropriate functional area reports section, e.g., Access Services reports. Right next to your CR or AHR number, enter the words "in progress" in parantheses.

3 – Create an entry for the report in the CUL-FOLIO-ANALYTICS 4 – Log into the cul-folio-analytics repository on GitHub after logging in
https://github.com/cul-it/cul-folio-analytics
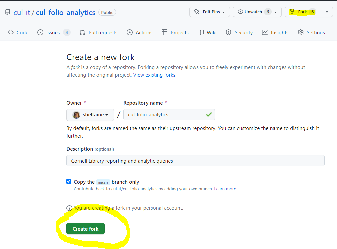
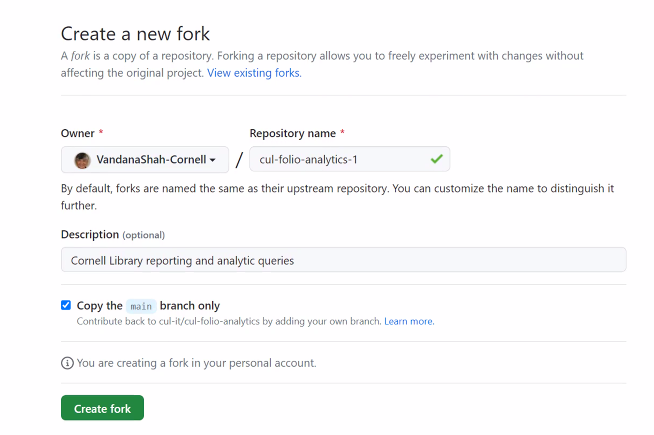
5 - If you have not yet created your own fork (copy) of this repository, create a fork. Click the Fork button at the top right corner of the page, choose Create a new fork, then click the green Create Fork button to create your fork.

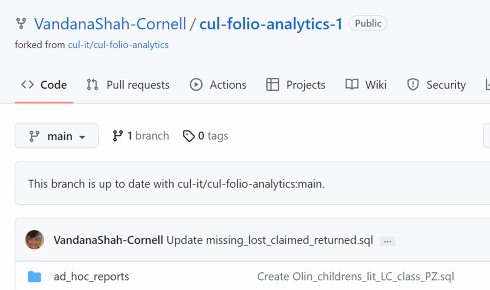
After creating your fork, you should see a new named fork of the main repository, with your name, a slash, and the name of the repository, as shown below. You can confirm you are in your fork of the repository on the top left corner of your page.
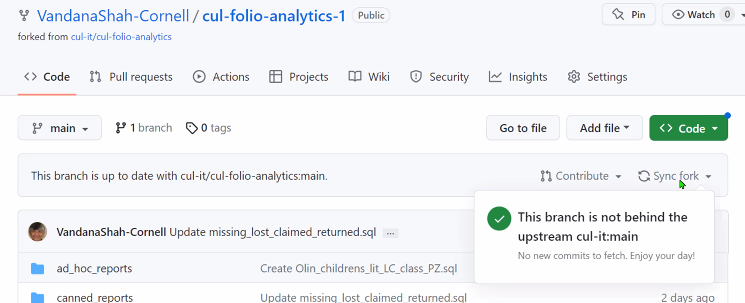
7 - If you have already created a fork, you just need to synchronize the files from the main directory to your own fork before you begin working. If your fork is behind on commits, click the Sync fork drop down

On the other hand, if your repository is up-to-date, you don't need to do anything.
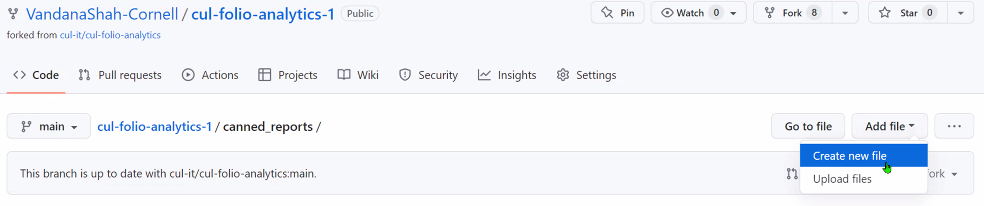
7 - Working from your own fork, open 4 - Open the canned_reports or ad_hoc directory, choose Add file/ Create new file
from the top right corner.
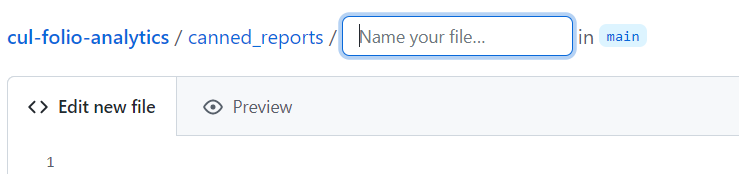
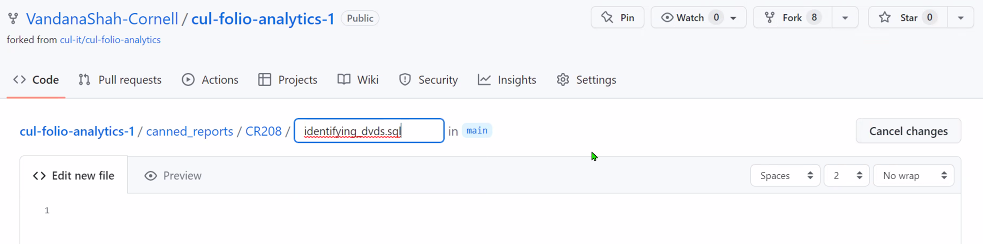
8 - Enter the CR and number, or AHR number for this query followed by a Slash ( / ) mark, and README.md after canned_reportsthen enter the name of the query you will be submitting followed by an .sql file extension. (The .sql file extension ensures that the file retains the SQL format.) Make sure the name of the query includes underscore characters between each of the words, and keep the name as short as you can (e.g., loan_count.sql). The Slash mark creates a new directory for this query, and the README.md is the markdown file for its readme documentation.
. In the Edit new file window, paste the code of your entire query. Hit the Return key to create the documentation file.
5 – Create the README.md file for this query. Enter a short description for the query, using this template as a model:
----------------
For a list of all the options you may use with the filters at the top of this query, see the Filter Directory
CR100
Loans Count Report Report Details
Brief description: This report can be used to satisfy a need for annual statistics showing loan counts by location. The report includes material type and loan policy as well as patron group information.
--------------
Once done, click to submit your changes.
6 – Return to the main directory for this query by clicking the CR and number above.
7 – Click Add file/Create New file to create your query file. Name the file with a short name that has underscores between the words and ends with .sql, like loans_counts.sql. Copy and paste your sql code into the new file window.
Once done, click to submit your changes.
Open your completed file and copy the URL that appears at the top of your web browser
8 – Return to your entry on the FOLIO Canned Reports Directory at
https://confluence.cornell.edu/display/folio/FOLIO+Canned+Reports+Directory
9 – Edit your recent CR and number entry to create a link to your newly-created cul-folio-analytics directory for this query on GitHub.
Duplicate this link in the same report you entered in the appropriate functional area, e.g., Access Services.
enter the new directory, the name of the query file, and the query code you will be submitting.
9. Scroll down to the bottom of the page. Scrolling is a little confusing. Keep in mind that there is a scroll bar for the window, as well as a separate scroll bar for the query code.
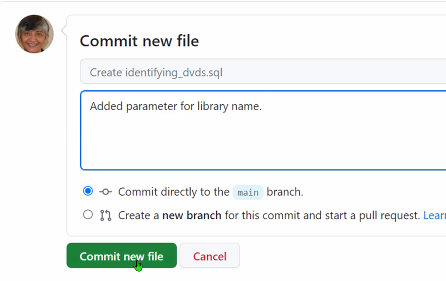
In the Commit new file message, enter any addition instructions that may be helpful for others to use to understand the changes you are making to this file. This is most useful after you have done your first commit of the file and you subsequently go back to make edits. When you are done, click Commit new file.
At this point, you have updated the code on your own fork. You must submit a Pull Request to have the code merged to the main branch of the repository.
10. To submit a Pull Request, click on Pull requests near the top of your page.

Click New pull request.

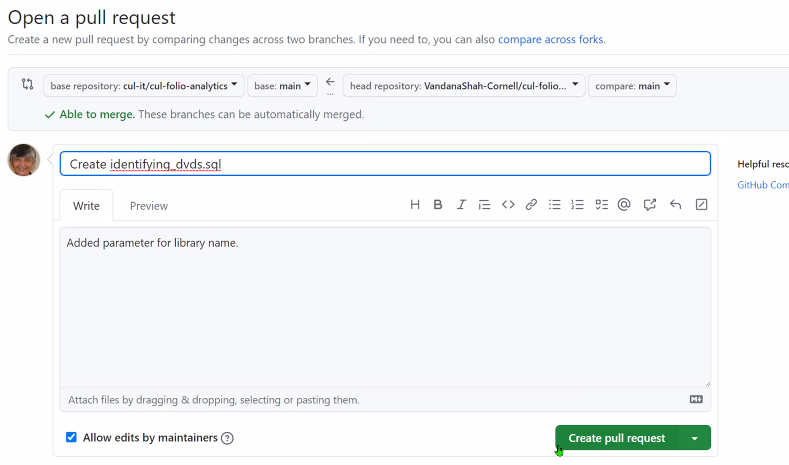
Click Create pull request
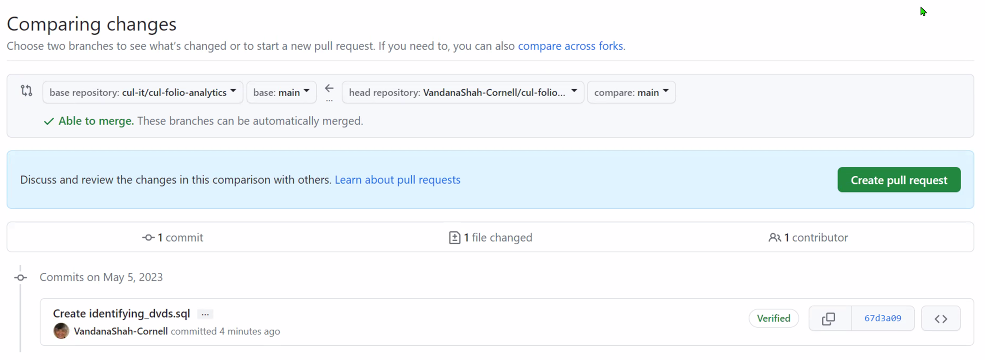
Scroll down to the bottom of the window and click Create pull request again. Note that you have another opportunity add comments if you wish.
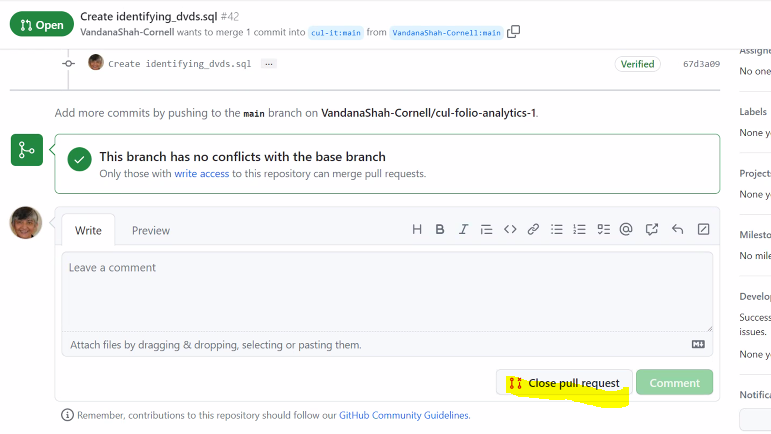
You should now see a message confirming that you have created your Pull Request. You are done submitting your code.
If you scroll down more, you will see a button that says Close pull request. Do not click that button! If you click that button, you will have to start your Pull Request all over again.
10 - At this point, you need to wait for your query to be reviewed and merged into the main code repository. (Feel free to nudge the repository admin if you need it merged right away.) The repository admin will also update the Confluence page to show the correct CR or AHR number after the code has been reviewed and merged.
11 – Congratulations, you have submitted your query! : ) 10 – Congratulations, you have published your query! : )