The first thing you need to do is obtain the "latest" X-Win32 software.
- Go to https://charon.ece.cornell.edu and click on the link for X-Win32.
- Copy the license string (it's the really long lines of random characters)
- Click on the link to "Vendor"
- Paste in the the licsense
- Download one of the clients. I recommend a separate PuTTY installation, so choose the one without SSH. However, if you feel you will want to try more advanced settings, pick the one with SSH. This guide will presume you went with the former.
Installing X-Win32
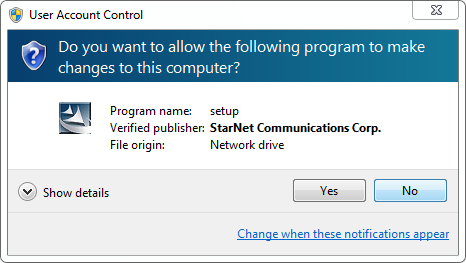
- Run the installer and click Yes if prompted by Windows UAC
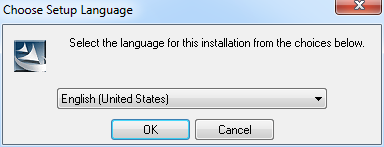
- Select your Language, I chose Englilsh
- Select Next to begin the installation

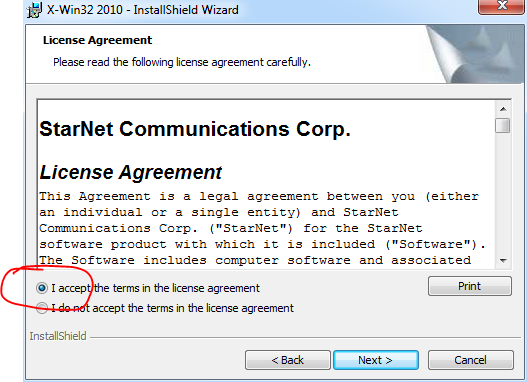
- Accept the license agreement and click Next (you should read the agreement, if you disagree, stop here and try a different X-win package)
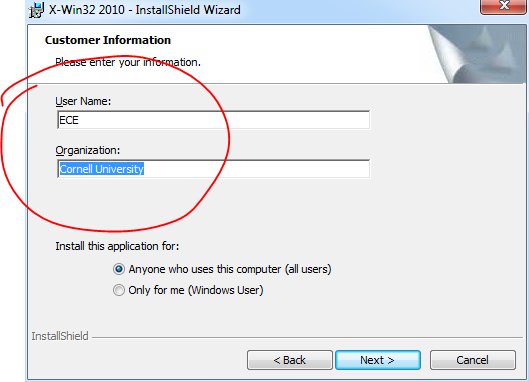
- Enter in your username and organization, I used ECE and Cornell University, you can enter whatever you want
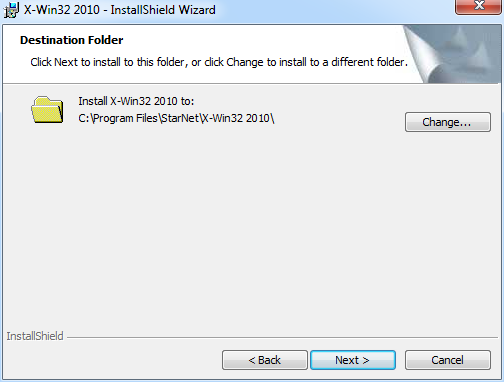
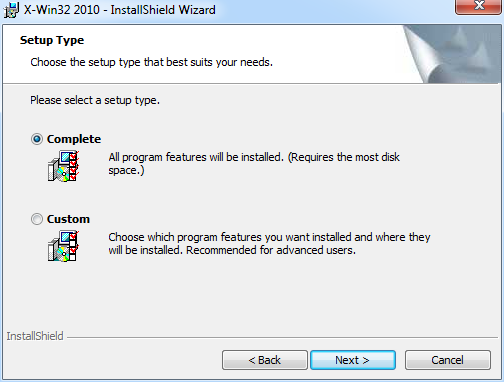
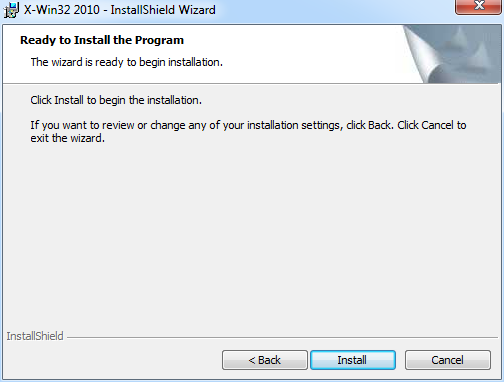
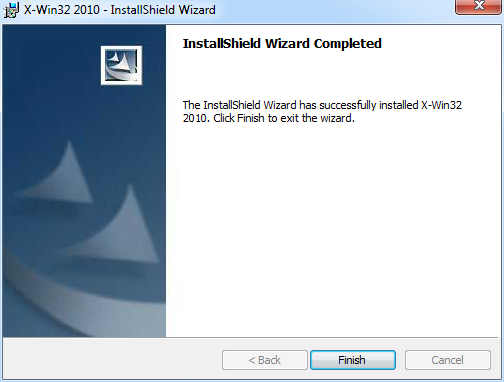
- Accept all the defaults and press Finish when done
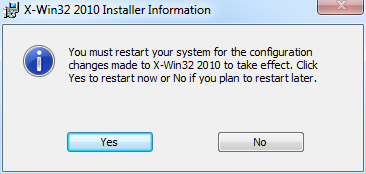
- If prompted to reboot your computer, do so
Running X-win32
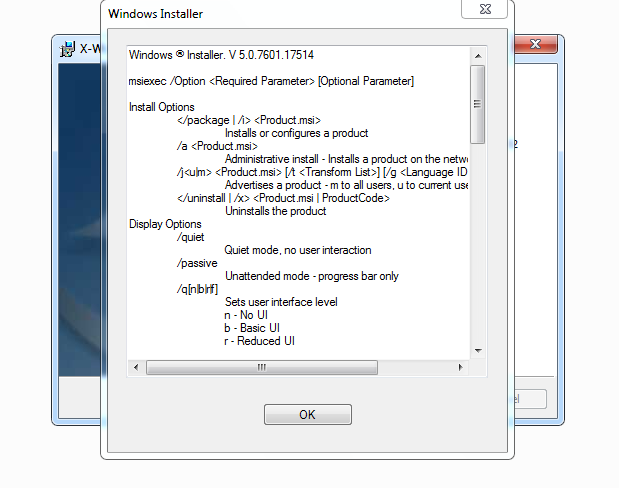
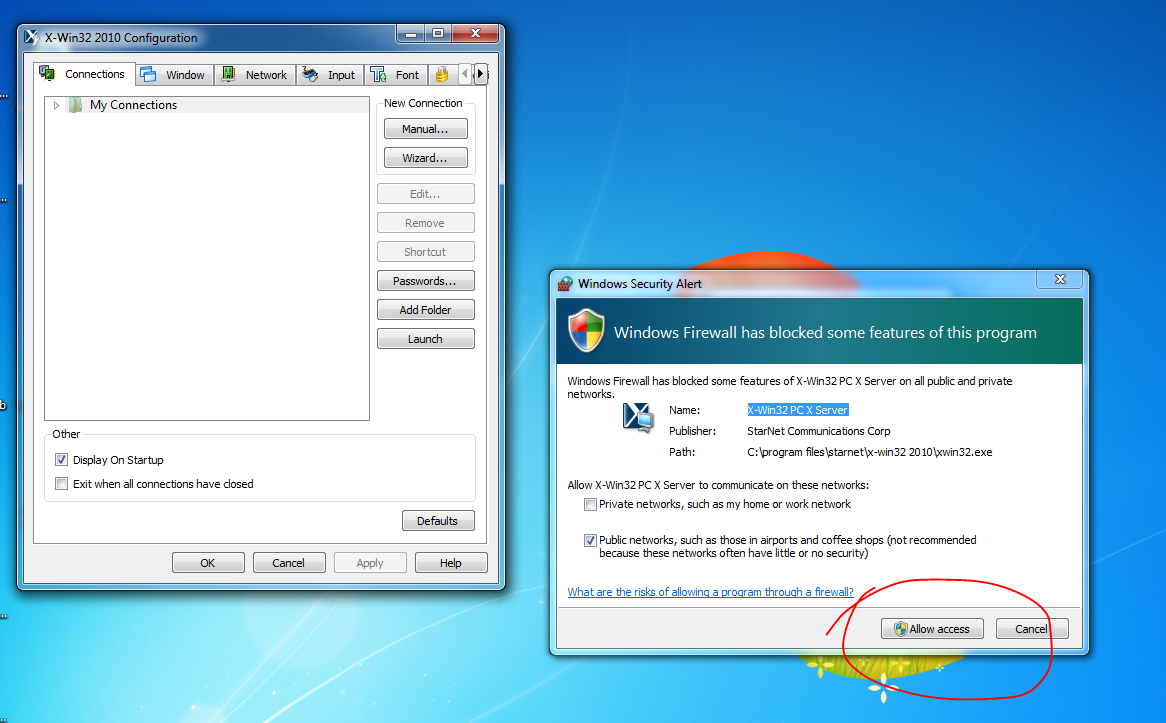
- Start "X-Win32 2010", not X-config from your Windows Start menu, it will likely launch X-Config as well, but that is for advance users
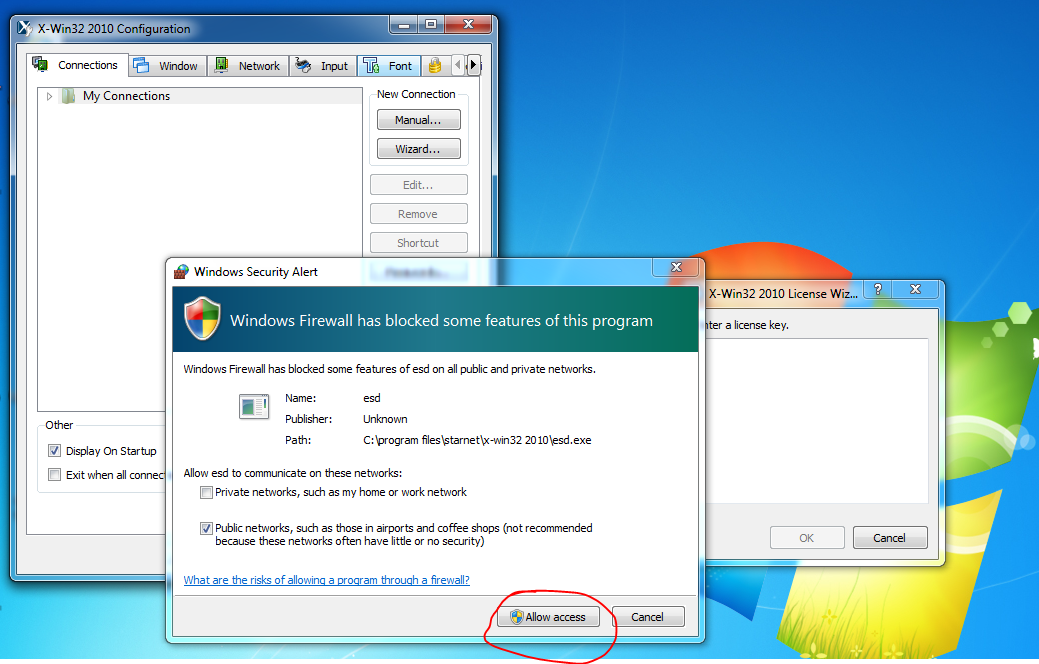
- You may get a Windows Security Alert or something from your firewall package (I'm using Windows Security Essentials to create the images). Allow Access
- You should now paste in the license key you copied from https://charon.ece.cornell.edu. If you rebooted or copied something else in the meantime, you'll have to go back to that server and copy it again.

- Press Finish
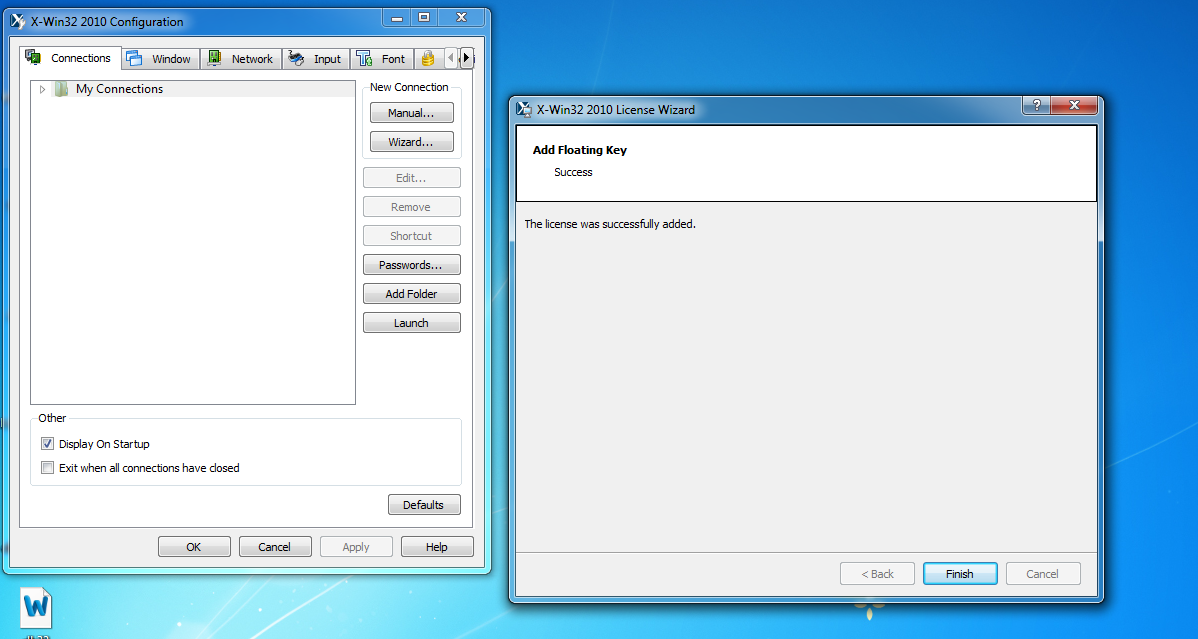
- Turn off X-Config (again, this is for advanced users) and press Okay.
!xwin32-step18.PNG|border=1!X-Win32 is now running appropriately for use on the ECE servers.